2020/08/21

Día de Muertos mask restoration video

Mask alteration by Maria Lillepruun

Dear friends!


Today´s video is something different from what I had been shooting before. Recently, I bought this Día de Muertos Mexican mask in a local second-hand shop. It is made rather cheaply and cost me just 2 EUR. The mask was rather dirty, so I washed it with a damp tissue. There are many little bits of damage in the paint layer, as well as a bigger paint loss on the nose area. So I decided to restore the vivid colors and add something even more to the mask…

Mask alteration by Maria Lillepruun

I should definitely mention that my artistic alteration of the mask is not a proper museum restoration. This is simply to refresh the once beautiful mask so that I could hang it on al wall or maybe even wear to a masquerade. So please do not try to repeat the process on a really old or valuable piece of art 😉


Basic Process

  1. First, I cleaned the mask with a damp cloth. I also cleaned the inside of the mask with ethanol and painted white. This process is not on the video, sorry.
  2. Then, I took three Lindy’s Gang sprays and partially dyed the artificial fabric flowers around the mask. I used Summer Lovin’ Sun and Cowabunga Copper on the flowers, and Bells of Ireland Green of the leaves.
  3. The next step is the paint layer renewal. I mixed the chosen Lindy´s Magicals with the soft gloss gel, which resulted in beautiful semi-transparent paints. No water needed for the paints. I had some near me only to clean the brushes. My chosen Magicals were of the same colors that were present on the mask. So I picked Rizzo´Rowdy Red for the red areas, Tears on My Pillow Tangerine for the orange, Golden Sleigh Bells to retouch the yellow parts, Edelweiss Moss Green for green and French Lilac Violet for purple areas. I colored all the originally painted parts over with my new self-made paint and let it dry. I also colored the edges of the fabric leaves with the same Edelweiss Moss Green paint to make them look more versatile.
  4. Then I took some heavy gesso black and colored over the black parts. The heavily damaged nose area demanded 3 layers of gesso so that the paint layer would look even.
  5. When the paint and the gesso were all dry, I touched up some painted areas with the soft gloss gel and sprinkled some nail glitter with large particles over those areas. I also did for the flowers and the leaves for a more complex and festive look.
  6. Finally, I took a hot melt glue gun and some black handmade paper flowers, and attached them to the mask to enrich its floral decoration.

Mask alteration by Maria Lillepruun

Mask alteration by Maria Lillepruun

Mask alteration by Maria Lillepruun

Mask alteration by Maria Lillepruun

Mask alteration by Maria Lillepruun

Mask alteration by Maria Lillepruun

Lindy’s Products

Other Products:

  • Black heavy gesso, soft gloss gel (Prima Marketing Inc), nail glitter, handmade flowers

2020/08/08

Art journal layout tutorial

Hello! 

I´ve received the new Craft O´Clock collection "Beauty Restless", and it blew me away with its serenity and freedom feeling! So here I combined the beautiful patterned rice paper and different fussy cut elements from the main sheet, the vellum and the Butterfly VII extras sheet. I added some heavy mixed media by mixing together different stencils, texture pastes, inks and even some liquid gold!

 I am happy with the vintage and mysterious outcome. I hope you will enjoy the process video in the end of this post!

Mixed media art journal layout tutorial by Maria Lillepruun


2020/07/30

Moon Child wall decor with amethysts TUTORIAL

Hello, dear mixed media friends! 
Today this is Maria Lillepruun on blog. Recently, I have received a mystery box full of beautiful art goodies from the Mixed Media Place store! This was a very interesting challenge! I played with the media and embellishments around, trying to incorporate THEM ALL in one curious project. This was fun! Finally, I decided to make a wall decoration on a round base that was included in my box. 


I primed the base with black gesso, because I wante the final work to look dark. Then I covered the primed base with the decorative paper using the soft gloss gel. 


After that, I applied a mix of the modelling paste and the texture paste with sand through a beautiful "Oriental Wall" stencil, and let it dry.


When the texture was dry, I colored it with liquid acrylics and added shimmer with dry mica powders.
Then I glued on all the decorations: colored chipboard, metallic embellishments, artificial plants and moss, real amethysts, art pebbles... And colored them all slightly with distress ink, alcohol inks and Finnabair´s waxes. This process blended them all together.


Finally, I added some decorative glass beads as toppings and whte gesso splatter.


I invite you to view the whole process. I filmed it all together with a short mystery box overview in the very begining of the video.


Thank you for your attention!


Mixed Media Place supplies:


2020/07/24

Vintage Blue / New mixed media notebook

Meanwhile, I created a mixed media notebook, inspired by the beautiful blues and browns in the new patterned paper collection by Sklep Craft O' Clock 💕 "Beauty Restless" collection was created by Karolina Bukowska 🎨 The cover of the book is decorated with the chipboard frame and the metal key. The whole texture is made with the help of some texture paste, acrylic paints and embossing powder.
The inner side sheets are made of the patterned sheet #3. I bound the notebook pages myself, inserting quite many page dividers ✂️ The junk journal extras set was very useful for this. I cut out several cards from there and sewed them in between the blank pages. I also incorporated the patterned vellum sheets, creating some semi-transparent pages.


2020/07/22

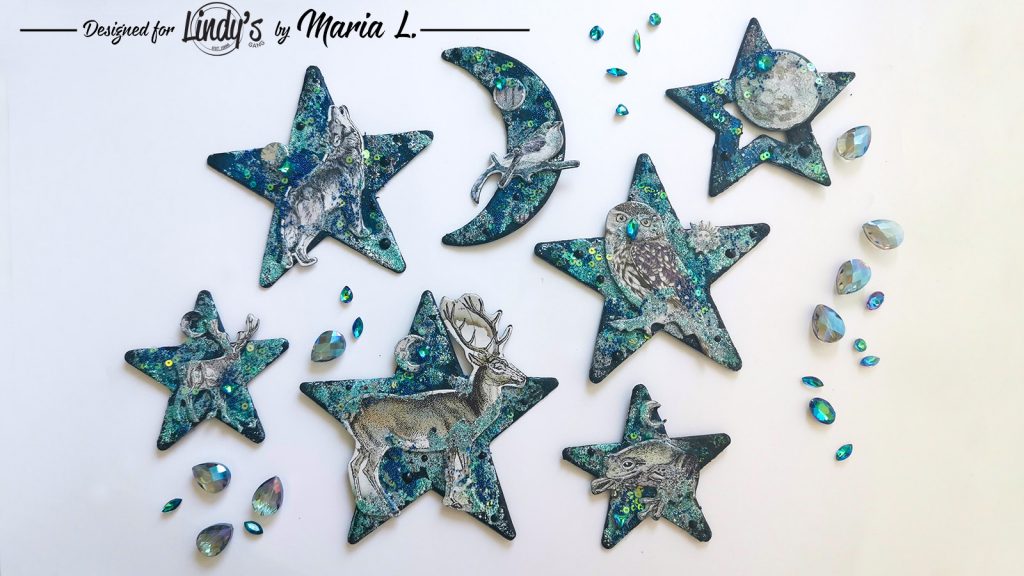
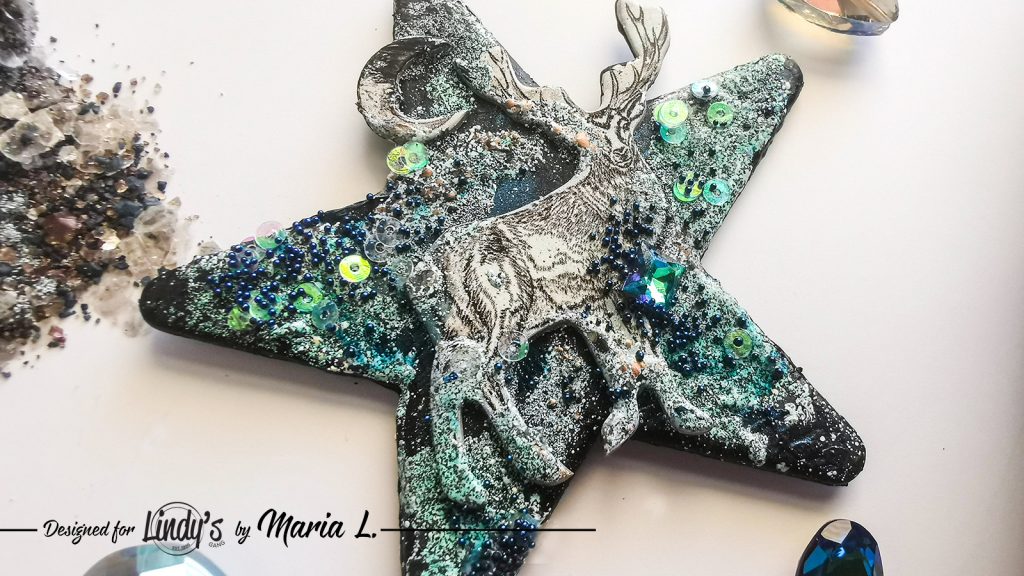
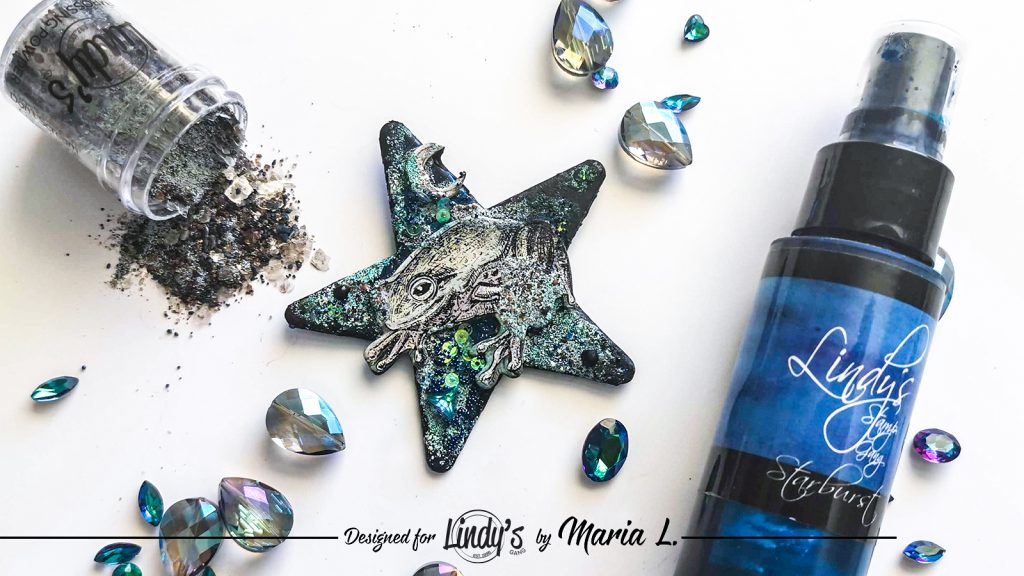
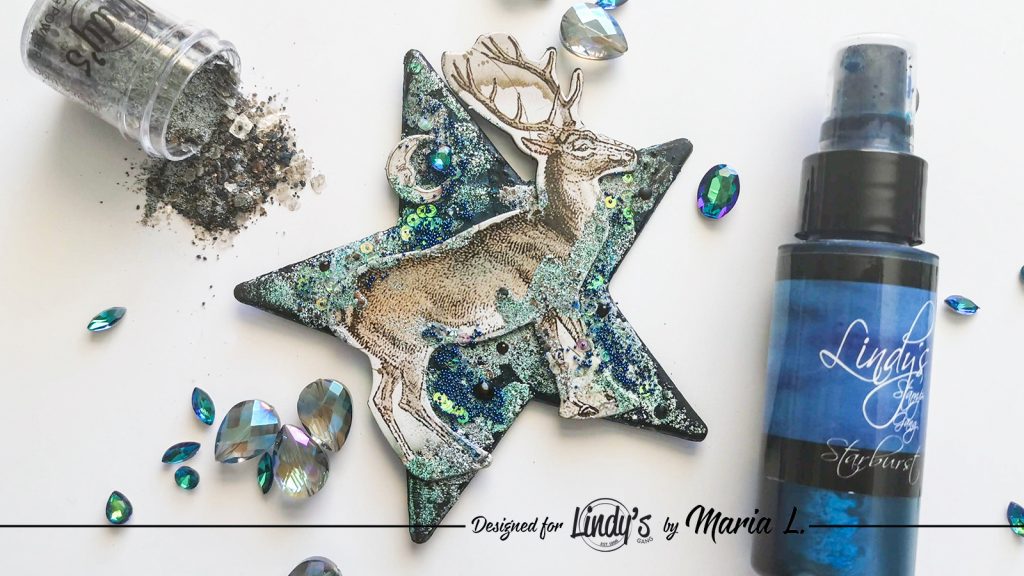
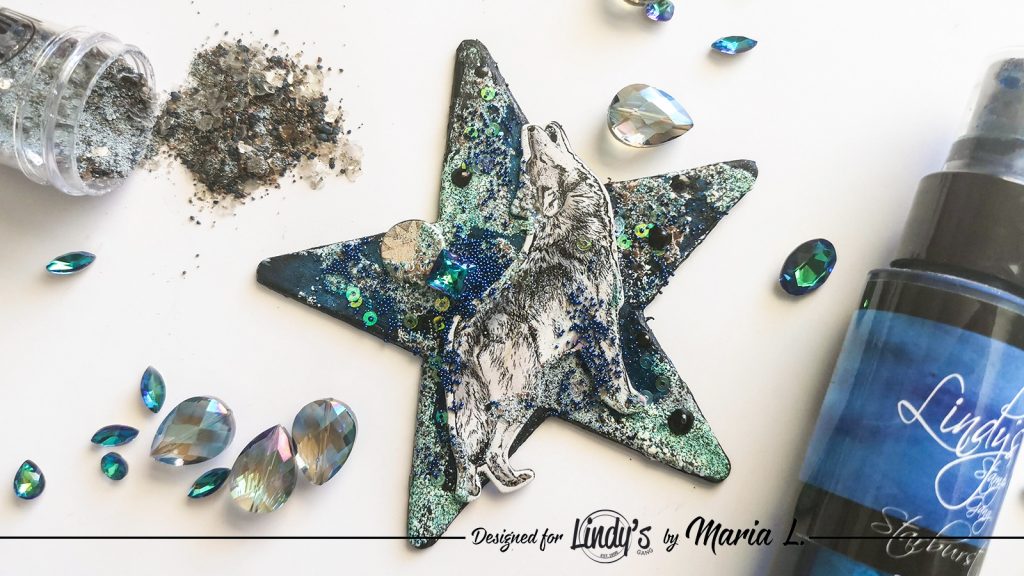
Cosmos magnets for Lindy´s Gang - TUTORIAL

Hi!

Here is a new tutorial on one of my favorite topics - cute little free form creations. I like to make free form ATCs and magnets a lot! They are great to give to friends as tiny gifts, aren´t they?


One of the fun ways to use Lindy´s Gang products is on the black background, mixing the sprakly Starbursts with chunky embossing powders. Here is my take. Enjoy my new video!


BASIC PROCESS
  • I took a handful of old plastic fluorescent stars and a little crescent from my kids´ nursery and decided to turn them into the cosmic magnets. My kids doesn´t need them anymore anyway... So I covered the stars with black gesso from both sides. By the way, it is a good idea to degrease the plastic with alcohol before applying the gesso.
  • After the gesso was dry, I added some color and shimmer, using Lindy´s Gang Starburst spray Bachelor Button Blue.
  • Later, I attached the main decorations - the chipboard die cuts - to the front stars, using a contact glue.
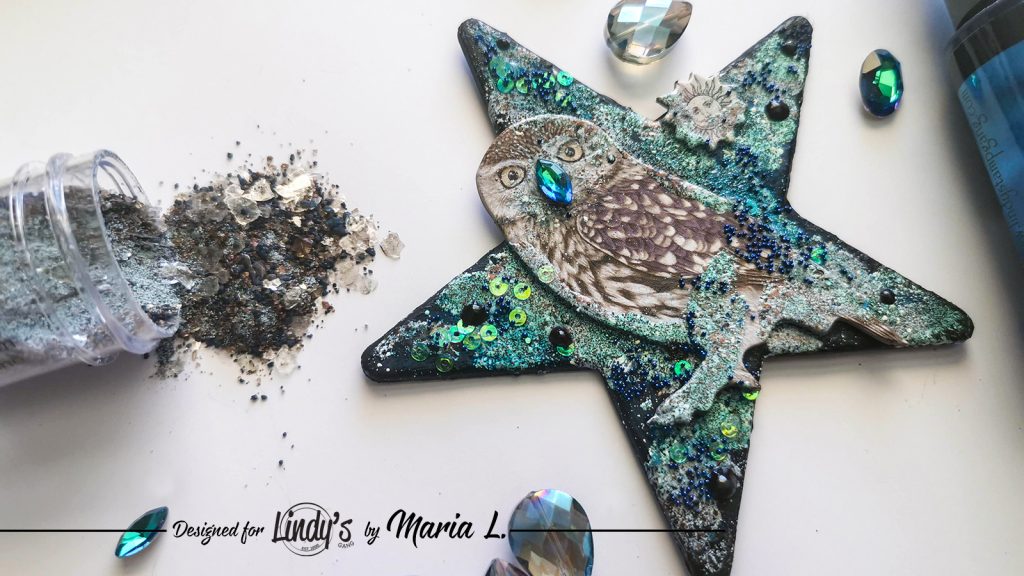
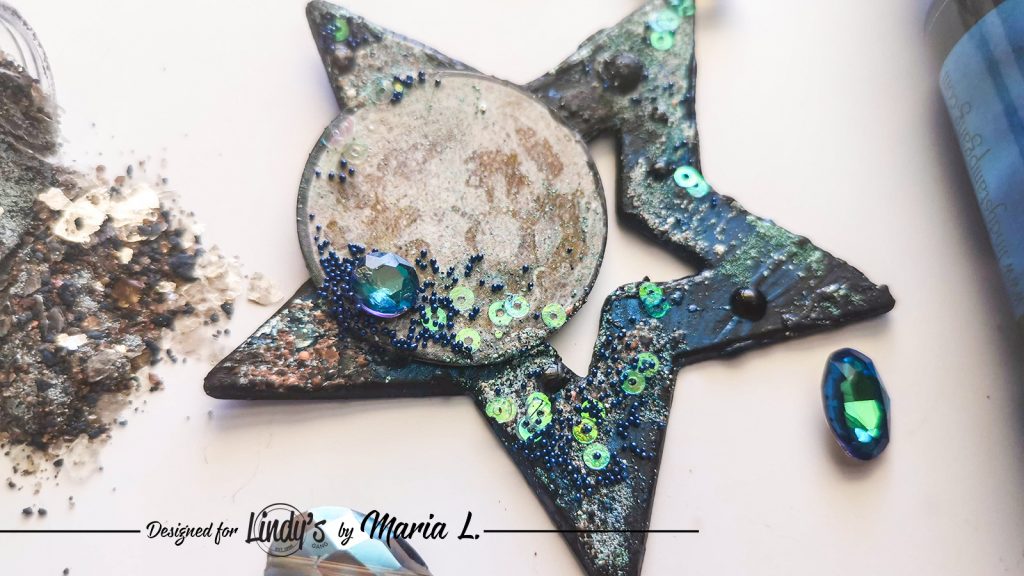
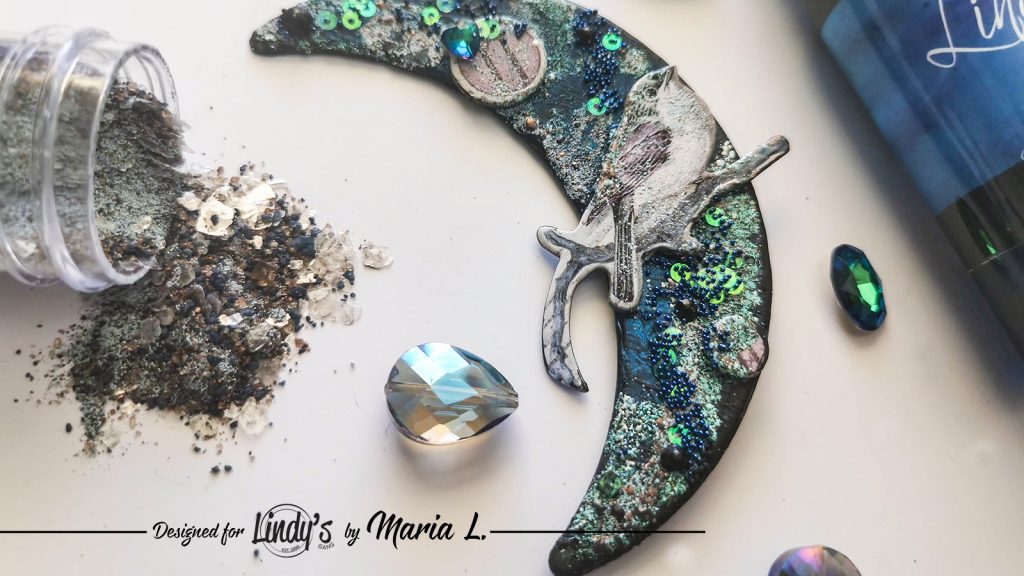
  • Then, I decided to enrich the background (and blend the chipboard with it) by applying two layers of chunky embossing powders. First I melted some Don´t Scream Aquamarine (from the Rock It! set), and then added some Carefree Verdigris (from the Metal Maniacs set).
  • For additional decoration, I added some crystals, blue microbeads, iridescent sequins and black glass drops to the surface. I used soft gloss gel to glue the toppings.
  • When the stars were totally dry, I spayed them over with a glossy acrylic varnish.


Let´s see the magnets closer, shall we?