2021/02/07

День рождения и закрытие блога / Blog anniversary and closure...


Сегодня моему когда-то нежно любимому блогодомику исполняется 6 лет. 

Но в последний год я совсем его забросила. Самой от этого очень грустно, но, к сожалению, такова суровая реальность. Блоги в наш век скоростных технологий и соцсетей уже не жизнеспособны. Помню, еще пару лет назад я очень переживала, что все больше любимых блогов закрываются, все переезжают в бездушный Инстаграм... 

Но теперь и я там наконец-то (вроде бы) освоилась. ДК требуют постоянного присутствия в Инстаграме, ЮТубе, Фейсбуке, так что именно на этих трех ресурсах я продолжу делиться с Вами своим творчеством. А этот милый блог останется моим архивом на просторах всемирной паутины. Этим постом я прощаюсь с блогом и моими чудесными ПЧелками. Спасибо, если Вы сюда все-таки зашли. Спасибо за внимание. 

Обязательно найдите меня здесь: 

Канал на YouTube с огромным количеством МК по скрапу и Mixed Media

Мой Instagram

Сайт Magic Attic Design с описанием и объявлениями о моих живых МК


Today is the 6th anniversary of this blog. I called this place HOME for several years, but in this difficult year 2020, I seem to have comletely abandoned it. Unfortunately, this is the harsh reality. Blogging in this age of high-speed technology and social networks is no longer viable. 

I remember that a couple of years ago I was very sad because of many favourite blogs were closing, everyone was moving to soulless Instagram... But now I have finally (sort of) got used to it. The design teams require my constant presence on Instagram, YouTube, Facebook, so it is on these three resources that I will continue to share my work with you. And this beautiful blog will remain as the archive of my previous creative life. 

So with this post I say goodbye to the blog and my beloved followers. Thank you all for your kindness, your love and attention.

From now on, you can find me here: 

YouTube channel with over 100 scrapbooking & mixed media tutorials

My Instagram

Magic Attic Design website with the live workshops descriptions & calender

2020/10/12

Mixed media rings tutorial for Lindy´s / МК по миксмедийным кольцам

Hi, beautiful gang!

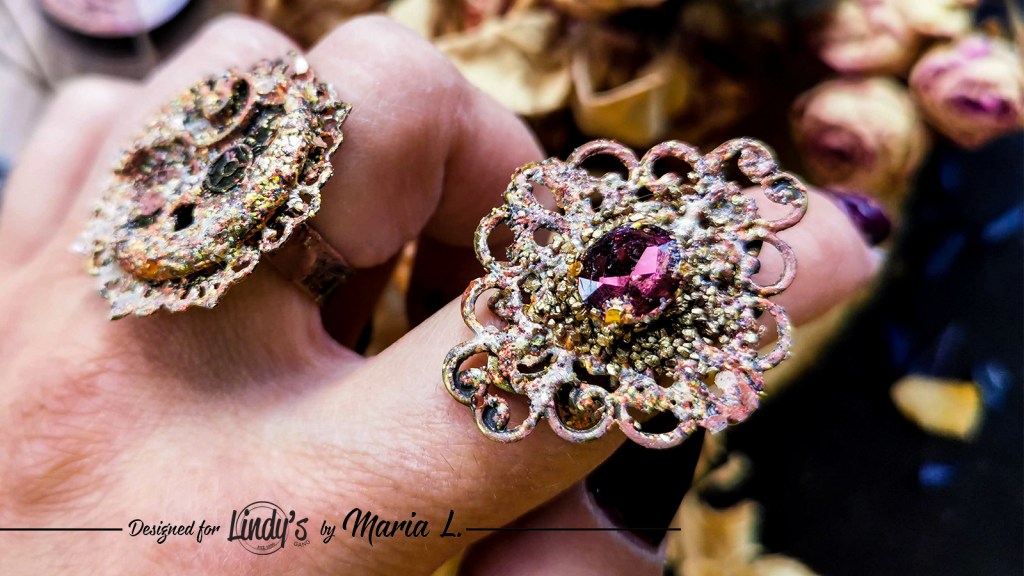
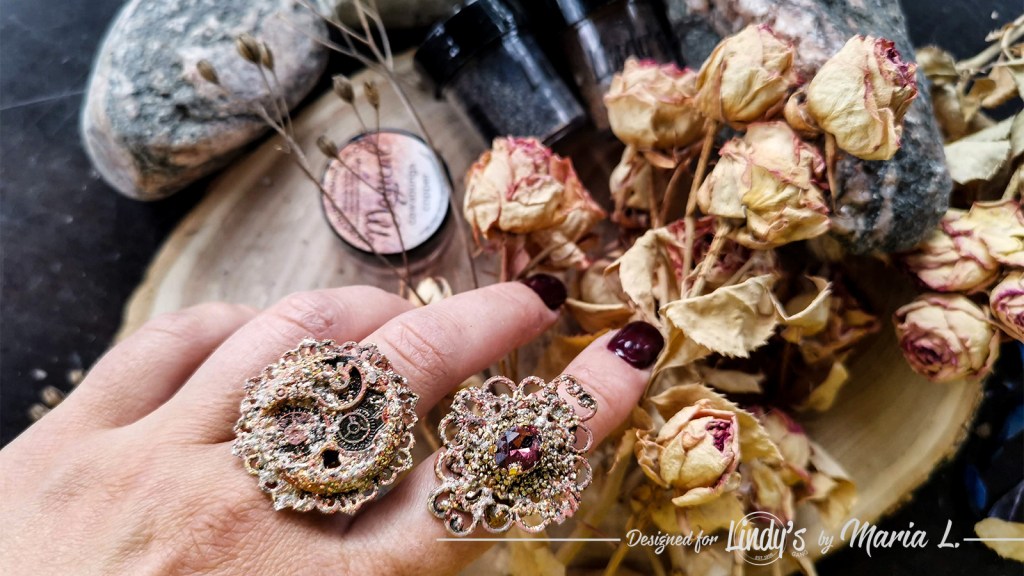
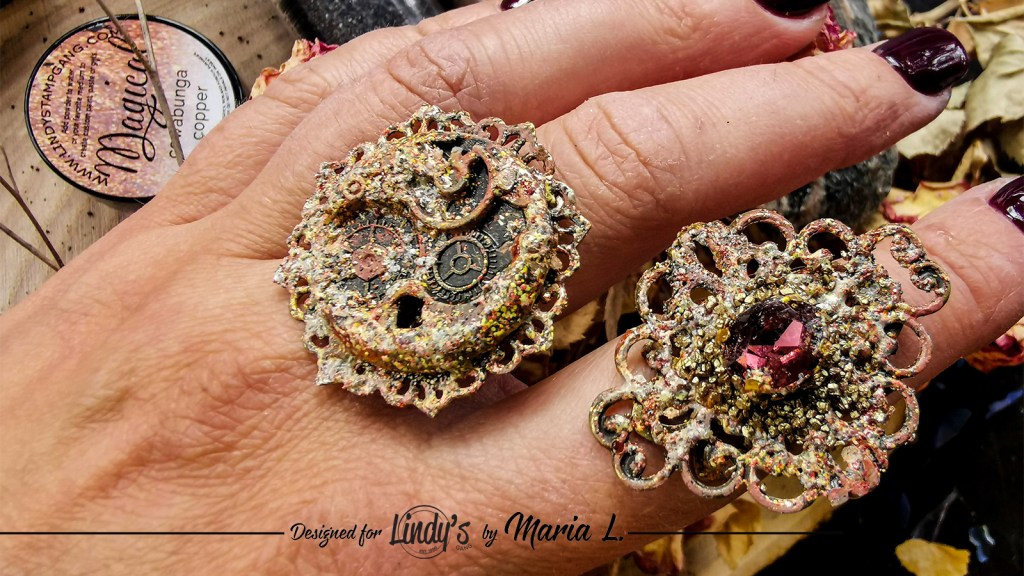
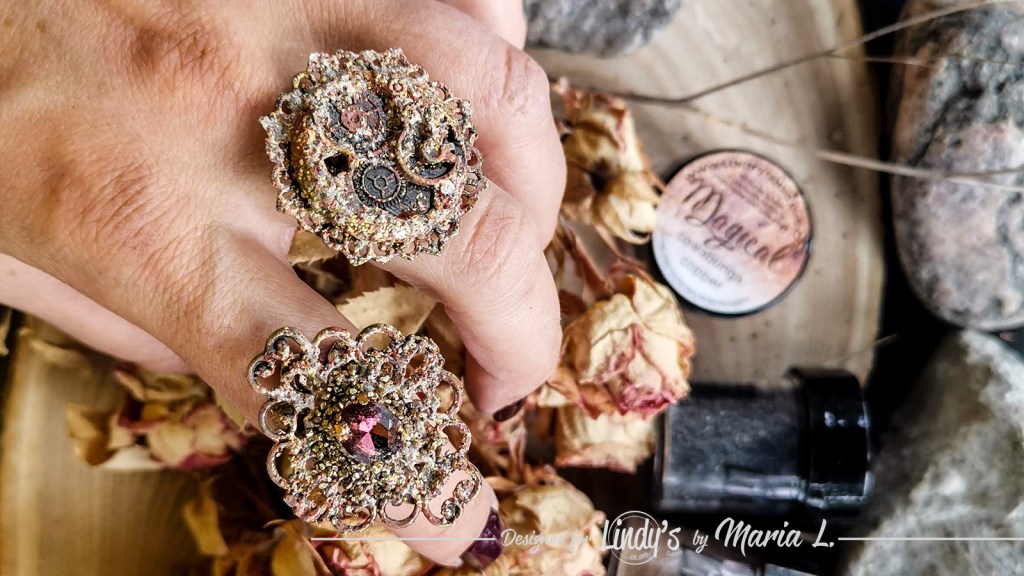
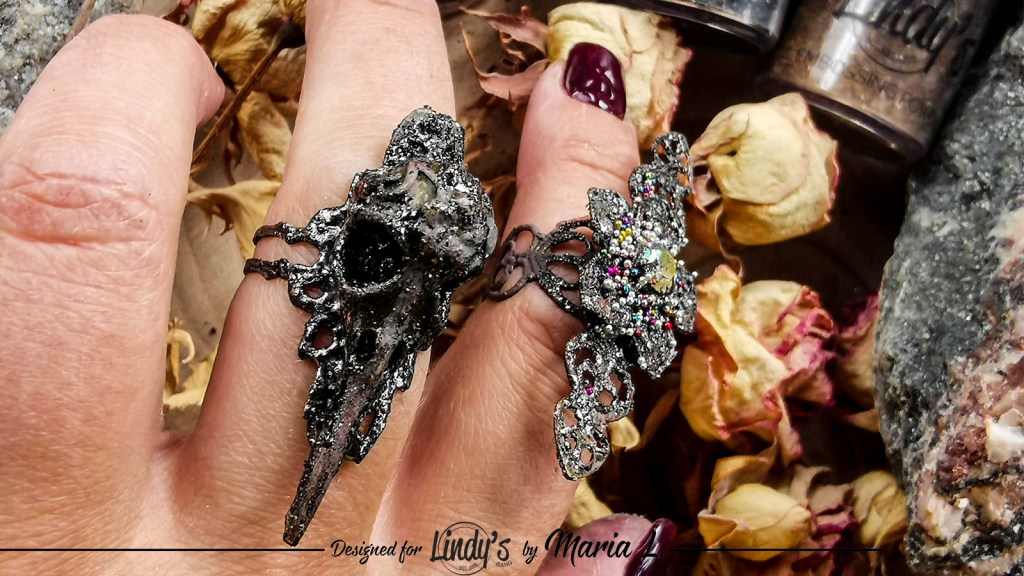
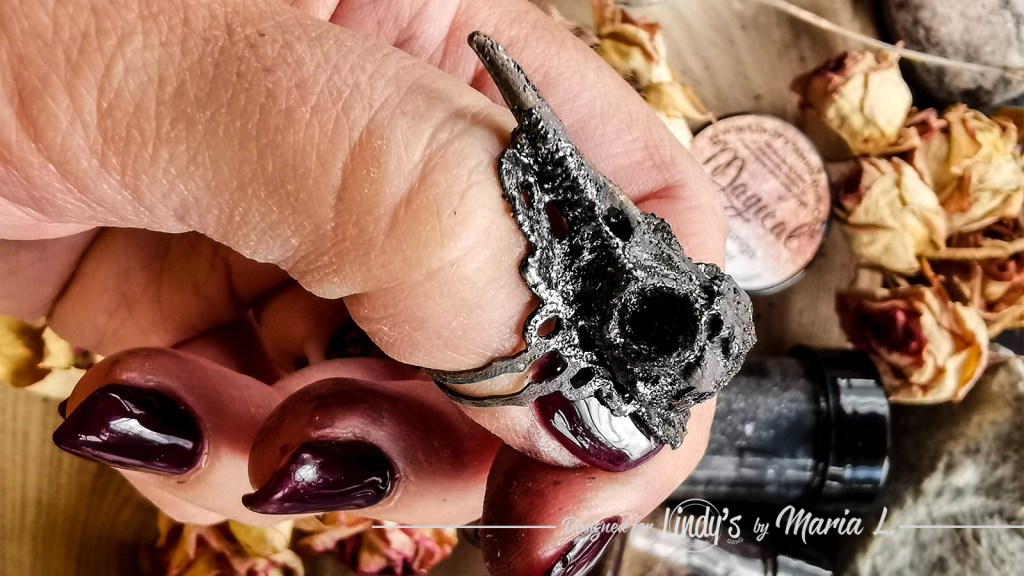
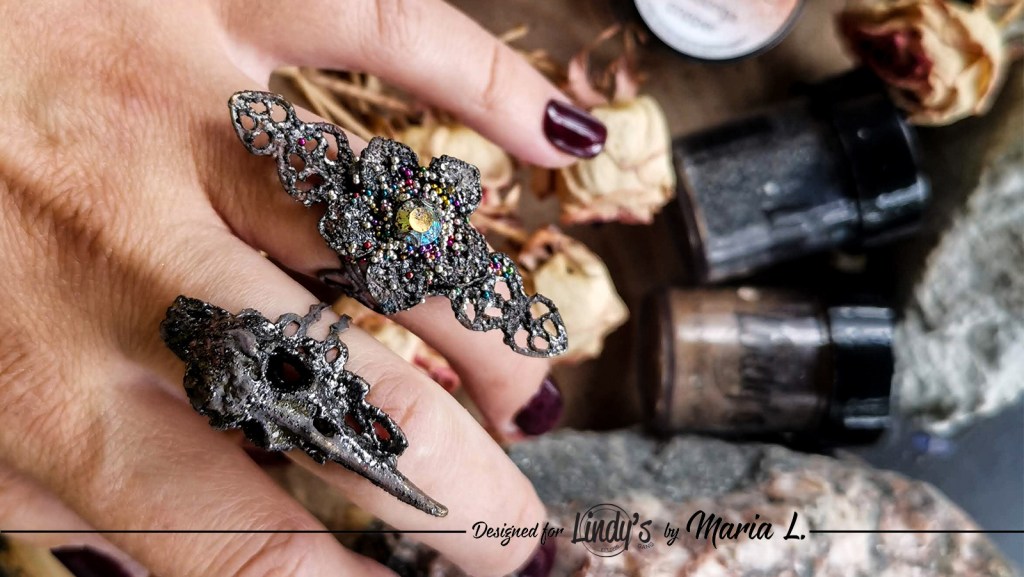
Today I decided to dive into the jewelry world and create several unique rings. I will show you a simple way to make your own striking rings! You will need minimum mixed media materials, but the essentials are our Lindy´s Magicals and the fantastic chunky Metal Maniacs embossing powders.

Mixed media rings DIY jewelry tutorial by Maria Lillepruun

Enjoy the video!

BASIC PROCESS

  1. First of all, I attached some chosen zinc alloy embellishments (pendants) to the ring blanks. The best way to do it is using a really sticky but flexible in use Heavy Body Gel (or any other gel adhesive).
  2. When the gel is set, I mixed together some white gesso and our wonderful Magicals (first Cowabunga Copper, then added some Midnight Rendezvous to it - all from the Totally 80's Shimmer Magicals set). This way I created my own acrylic paints with metallic shimmer. I painted the rings with these paints.
  3. Then, I added some rhinestones to the center of two rings with the same Heavy Body Gel.
  4. When all the surfaces were dry, I took out my beloved chunky EPs. I chose Tin Roof, Rusted! and Chip Off the Old Black from the Metal Maniacs set. I applied the dry powder to the rings here and there, especially around the rhinestones, attaching the powders to the Soft Gloss Gel. But any acrylic medium, gel or mixed media glue will work here. The heated EPs melt and turn into liquid metal :) This looks so awesome on the metallic surfaces. Randomly hot melt chunky EP turned my cheap zinc alloy rings into rather old and rusty, but exquisite jewelry.
  5. I also applied some toppings (microbeads, metal dust) to a couple of rings, gluing them onto the Soft Gloss Gel. This added some extra emphasis to the center of the rings. Toppings can be a great addition, but it is definitely not essential, because the chunky EPs are just so beautiful on their own.

Let´s take another look at my new rings.

Mixed media rings DIY jewelry tutorial by Maria Lillepruun

Mixed media rings DIY jewelry tutorial by Maria Lillepruun

Mixed media rings DIY jewelry tutorial by Maria Lillepruun

Mixed media rings DIY jewelry tutorial by Maria Lillepruun

Mixed media rings DIY jewelry tutorial by Maria Lillepruun

Mixed media rings DIY jewelry tutorial by Maria Lillepruun

Lindy’s Products

Other Products:

  • Heavy Body Gel, Heavy Gesso White, Soft Gloss Gel (Finnabair / Prima Marketing Inc), ring blanks, metallic embellishments, rhinestones, microbeads, other toppings.

Thank you for your attention!

Maria

2020/09/23

Bookmarks Tutorial for Craft O´Clock / МК по винтажным закладкам

Hi!
I combined the beautiful patterned paper and fussy cut elements from Craft O´Clock with some light mixed media additions like stamping, distress ink coloring and ink spray splatter. Also, I always seal my bookmarks with Mod Podge or decoupage varnish, because it makes the paper bases really strong and flexible, as well as prevents any paint from leaking onto the book pages.
Used products:
Patterned paper strips "Fleeting Moments" (Craft O´Clock)
Fussy cut elements from the same collection (Craft O´Clock)
Extras to cut - Leaves IV and Leaves VII (Craft O´Clock)
Starburst spray "Cowabunga Copper" (Lindy´s Gang)


2020/09/14

DIY tote bag decoration tutorial

DIY tote bag tutorial by Maria Lillepruun

Hi, beautiful friends!

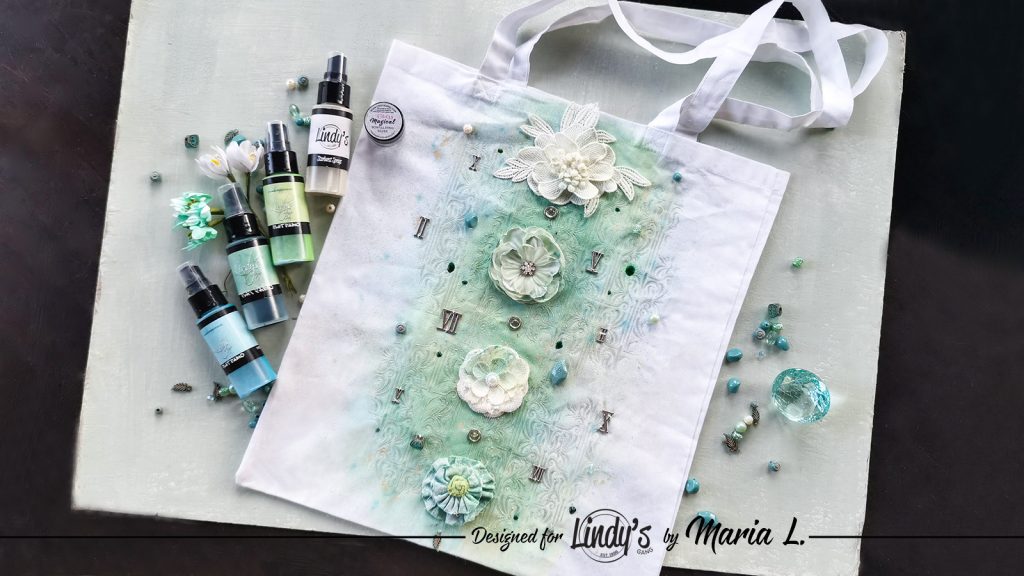
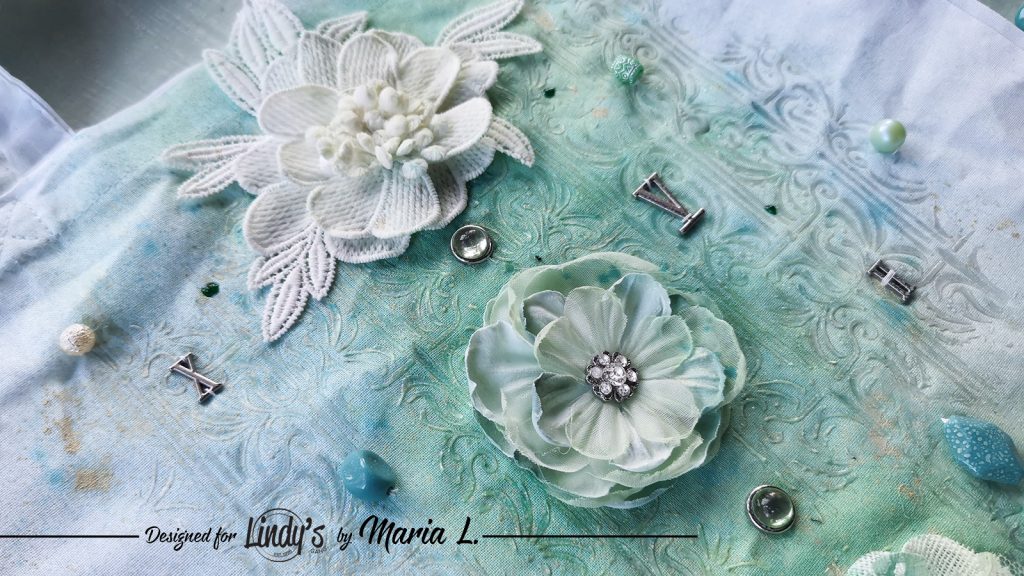
Do you use tote bags? I have to admit, I use them pretty often, and I especially like the ones with custom prints or other decorations. So here is my new tutorial on a DIY tote bag. I bought a simple white cotton bag and personalised it with the beautiful Lindy´s Gang products.

DIY tote bag tutorial by Maria Lillepruun

Here is how I altered the tote bag.

BASIC PROCESS

  1. I took a cotton tote bag and insterted a baking mat inside of it, so the back side of the bag would stay dry and clean after I color the front side.
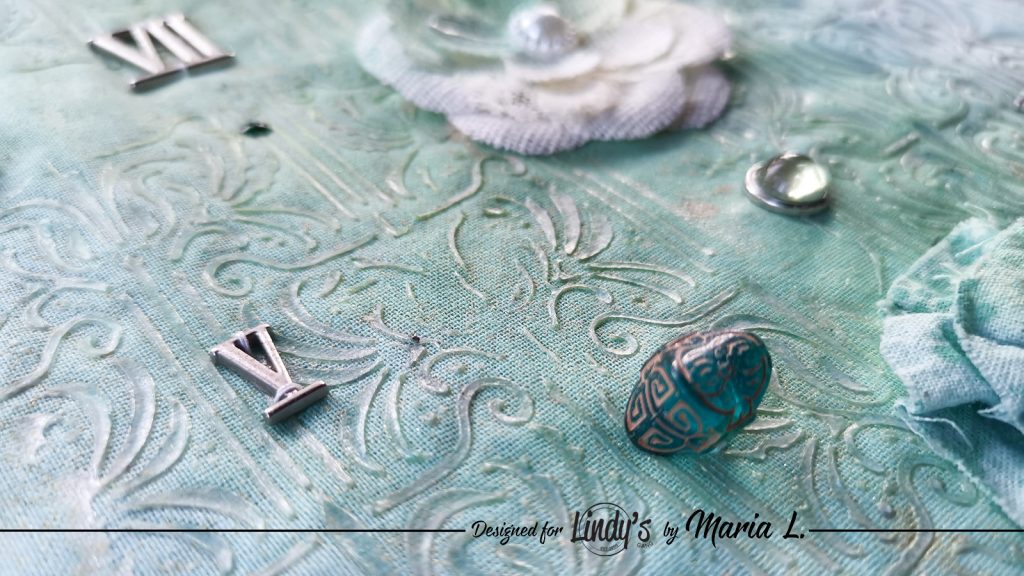
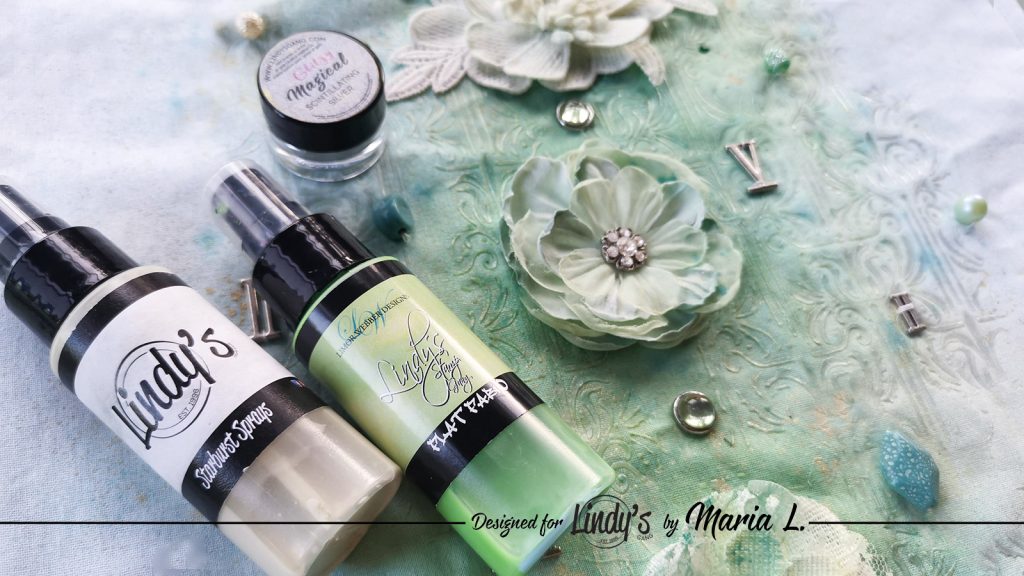
  2. Then, I prepared my custom texture paste by mixing the 3D gloss gel with the Scintillating Silver magical powder from the Glitzy Magicals set. My intentionwas to obtain some elastic transparent paste that would be somewhat sparkling after it would dry. Speaking ahead, I was very pleased with the result - check the end of my video for the close-up on the glossy texture on the tote bag surface!
  3. I applied the custom made texture paste through the stencil on to the bag front side, and let it dry.
  4. After, I sprayed the surface over in a monocromatic way, using five ink sprays: Creme Brulee Cream, Mad Hatter Mint, Tilt-a-Wheel Teal, T-bird Turquoise and Merry-Go-Round Green, and let it dry completely.
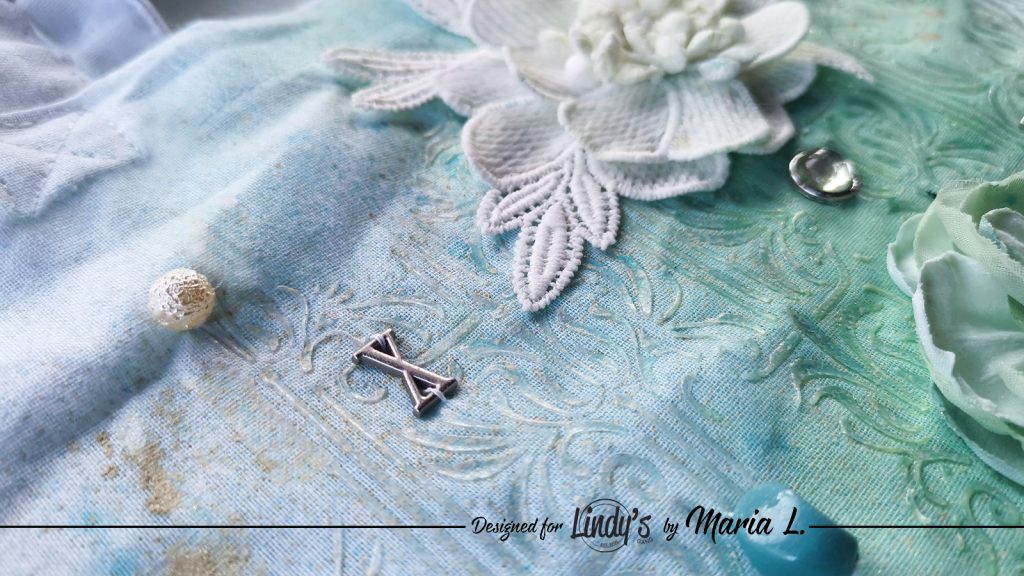
  5. Later, glued all the embellishments with contact glue, and stitched them onto the bag.
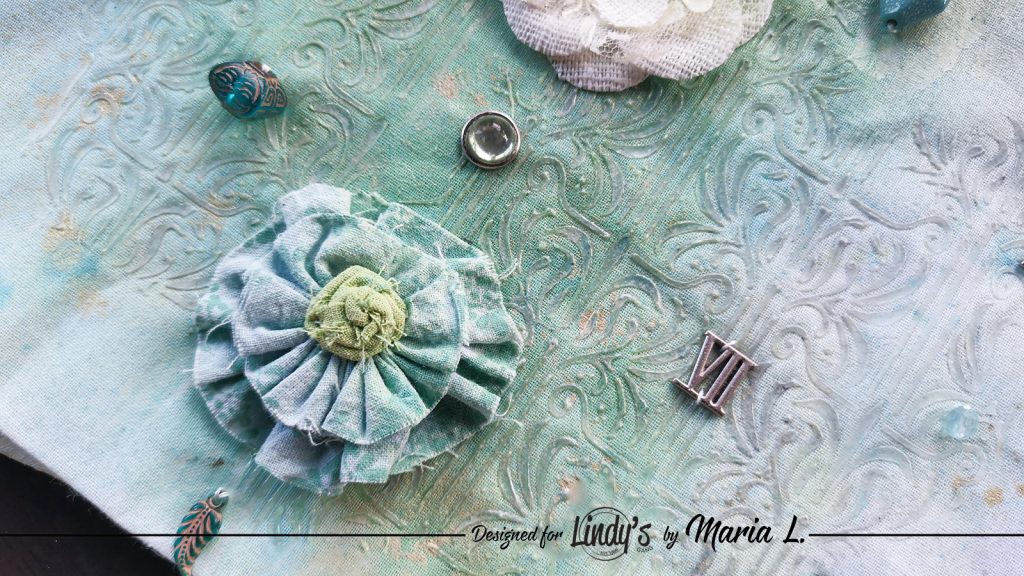
  6. As a final touch, I added some color with the same sprays on the fabric flowers, and squeezed some green liquid drops here and there.
  7. When all was dry, I sprayed the decorated front side of the bag with satine acrylic varnish.

DIY tote bag tutorial by Maria Lillepruun

DIY tote bag tutorial by Maria Lillepruun

DIY tote bag tutorial by Maria Lillepruun

DIY tote bag tutorial by Maria Lillepruun


Lindy’s Products
Magical: Scintillating Silver (Glitzy Magicals set)

Other Products:
Tote bag, stencil, 3D Gloss Gel, flowers and metal embellishments (Prima Marketing Inc), plastic beads, emeral liquid drops (Fabrika Decoru), satine spray varnish (Lefranc&Bourgeois).

Thank you very much for your attention!

2020/09/09

Altered mixed media suitcase. Final post for Mixed Media Place

Hello, my dear Mixed Media Place friends!


This is Maria Lillepruun with you today. I am very excited to present you my final inspiration for this totally awesome blog! It was a wonderful journey!
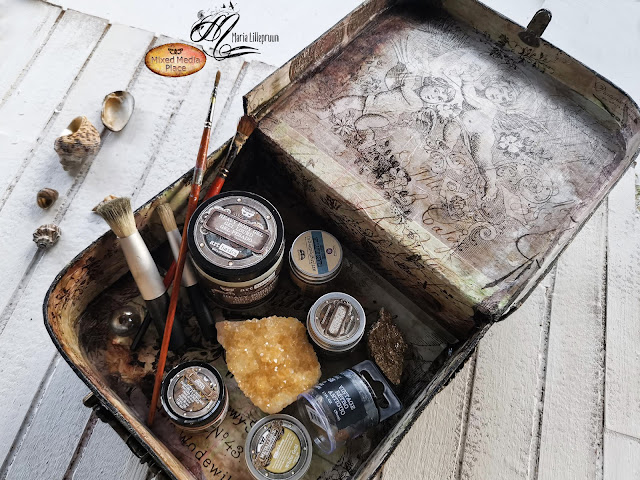
I love altering stuff, so my family and friends keep bringing me their old things with the words: "I haven´t throw it away, because I thought you might actually want to do something with it..." I am sure many of you can relate to this situation :) So today I decided to show you a large mixed media project. I prepared a video tutorial on how I altered an old cardboard suitcase, that used to belong to a friend of mine.


Firts of all, I covered the inner side of the suitcase with the vintage decorative paper. It is an easy and effective way to decorate the insides of all kind of boxes. I used Gloss Gel medium to stick this flexible paper to the surface. 
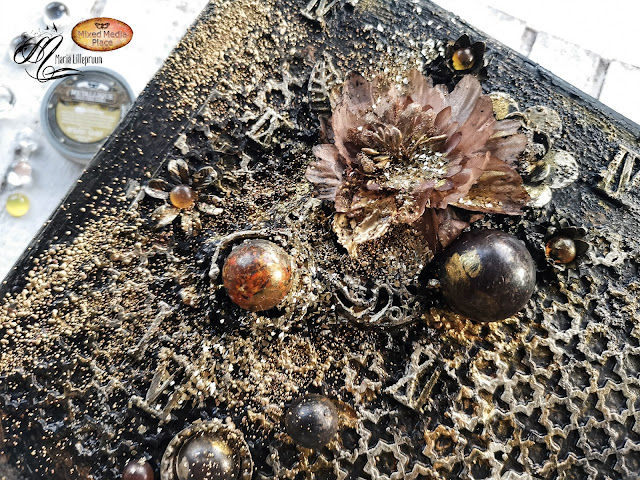
Then I used some Heavy Body Gel to attach a few wooden decorations to the sides, as well as some background chipboard, metallic and glass embellishments, a flower and some art pebbles to the suitcase cover. Then I colored the whole suitcase black, using the Heavy Gesso. The only things uncovered were the textile flower, and the glass balls and pebbles.
Then, I sprayed the suitcase with shimmering Lindy´s Gang sprays, using copper and bronze shades. Once the surface was dry, I touched up the background and the embellishments with metallic acrylic paint. Also, I made some highlights here and there with White Gold wax.
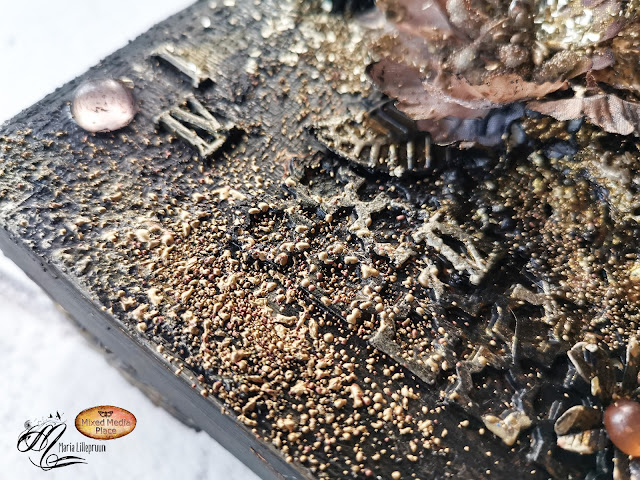
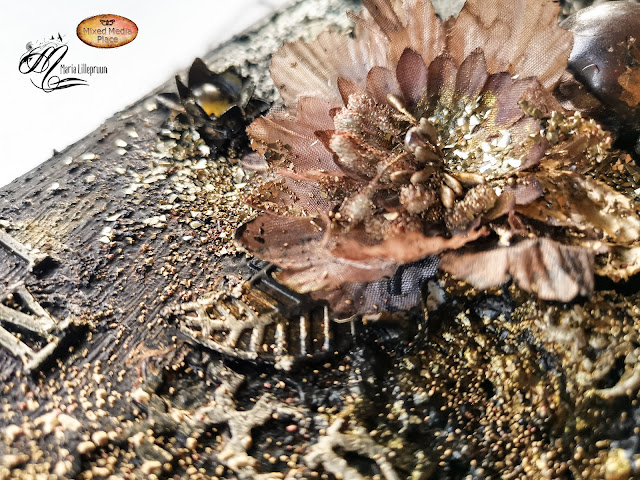
I also added some curious heat embossed areas to the surface, using some chunky embossing powder. The final glamorous step was to sprinkle some golden glass glitter to the focal point of the suitcase cover.
And voilà, my vintage decorated suitcase is ready! Totally functional, of course :)


Altered mixed media suitace tutorial by Maria Lillepruun

Altered mixed media suitace tutorial by Maria Lillepruun

Altered mixed media suitace tutorial by Maria Lillepruun

Altered mixed media suitace tutorial by Maria Lillepruun

Altered mixed media suitace tutorial by Maria Lillepruun

Altered mixed media suitace tutorial by Maria Lillepruun

Altered mixed media suitace tutorial by Maria Lillepruun

Altered mixed media suitace tutorial by Maria Lillepruun

Altered mixed media suitace tutorial by Maria Lillepruun

Altered mixed media suitace tutorial by Maria Lillepruun

Thank you for your attention throughout this amazing year that I have been a part of the Mixed Meda Place design team! Enjoy this last video. 
Hopefully, we´ll meet again one day :)

Love 

Maria Lillepruun


Mixed Media Place supplies:


2020/08/31

Mixed media magnets tutorial

Hello, dear mixed media friends!

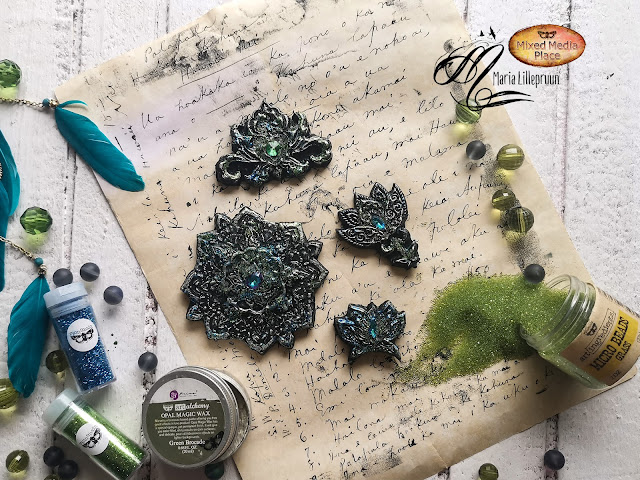
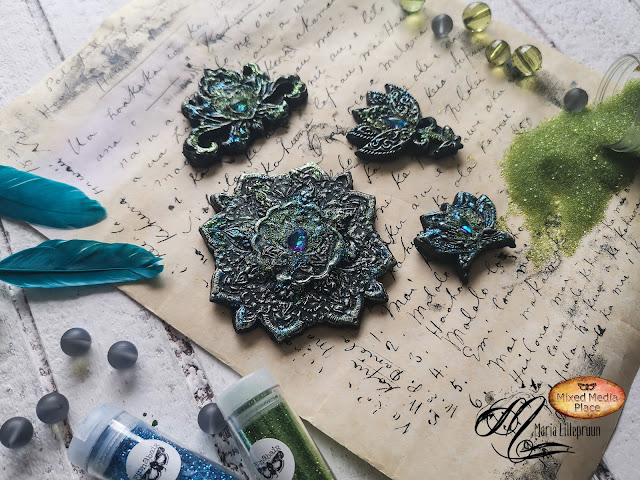
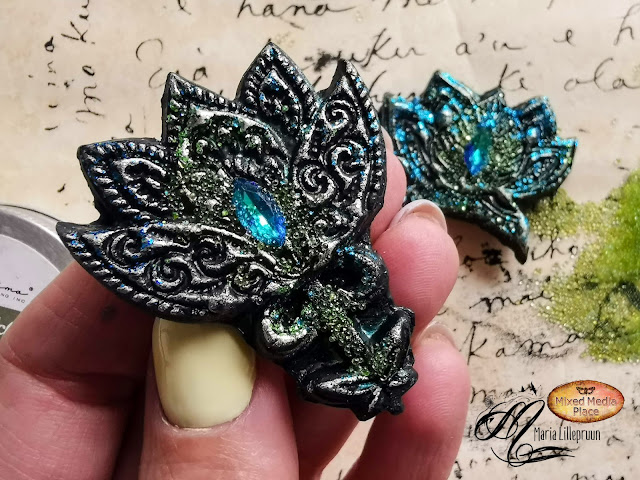
Today I will show you how I make little cute decorative magnets using the moulds and the air hardening clay. The process is quite simple but the result is rather impressive. Such little cuties are great to give as a gift to friends, or to use on your own fridge or magnet boards as decorations.

Mixed media clay magnets tutorial by Maria Lillepruun

First, I picked a very beautiful ornamental silicone mold by Prima Marketing Inc, and made some castings using some very light air hardening clay.

Mixed media clay magnets tutorial by Maria Lillepruun

Mixed media clay magnets tutorial by Maria Lillepruun

Then, I let the clay dry and colored all the future magnets black on both side, using heavy gesso black.

Mixed media clay magnets tutorial by Maria Lillepruun

Mixed media clay magnets tutorial by Maria Lillepruun

When the gesso layer was also dry, I sprayed the pieces with Lindy´s Gang ink sprays. That brought some basic color to the surface.

Mixed media clay magnets tutorial by Maria Lillepruun

Mixed media clay magnets tutorial by Maria Lillepruun

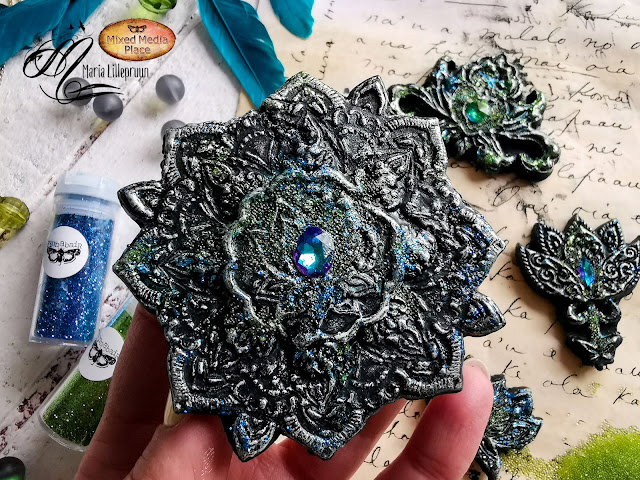
Then, I chose the Opal Magic wax "Green Brocade" to touch up the texture on the clay cast magnets, bringing forward the whole beauty.

Mixed media clay magnets tutorial by Maria Lillepruun

Mixed media clay magnets tutorial by Maria Lillepruun

Now, it was time for pure fun! I attached the main elements - the little sparkling crystals - to the middle of the magnets, and glued on some blue and green glitter, using 3D Gloss Gel for it.Finally, I attached some grass colored micro beads to the surface, turning my magnets into the little mysterious candies.


I hope you like the video tutorial. Thank you for your attention!


Mixed Media Place suppliesŁ