2020/07/30

Moon Child wall decor with amethysts TUTORIAL

Hello, dear mixed media friends! 
Today this is Maria Lillepruun on blog. Recently, I have received a mystery box full of beautiful art goodies from the Mixed Media Place store! This was a very interesting challenge! I played with the media and embellishments around, trying to incorporate THEM ALL in one curious project. This was fun! Finally, I decided to make a wall decoration on a round base that was included in my box. 


I primed the base with black gesso, because I wante the final work to look dark. Then I covered the primed base with the decorative paper using the soft gloss gel. 


After that, I applied a mix of the modelling paste and the texture paste with sand through a beautiful "Oriental Wall" stencil, and let it dry.


When the texture was dry, I colored it with liquid acrylics and added shimmer with dry mica powders.
Then I glued on all the decorations: colored chipboard, metallic embellishments, artificial plants and moss, real amethysts, art pebbles... And colored them all slightly with distress ink, alcohol inks and Finnabair´s waxes. This process blended them all together.


Finally, I added some decorative glass beads as toppings and whte gesso splatter.


I invite you to view the whole process. I filmed it all together with a short mystery box overview in the very begining of the video.


Thank you for your attention!


Mixed Media Place supplies:


2020/07/24

Vintage Blue / New mixed media notebook

Meanwhile, I created a mixed media notebook, inspired by the beautiful blues and browns in the new patterned paper collection by Sklep Craft O' Clock 💕 "Beauty Restless" collection was created by Karolina Bukowska 🎨 The cover of the book is decorated with the chipboard frame and the metal key. The whole texture is made with the help of some texture paste, acrylic paints and embossing powder.
The inner side sheets are made of the patterned sheet #3. I bound the notebook pages myself, inserting quite many page dividers ✂️ The junk journal extras set was very useful for this. I cut out several cards from there and sewed them in between the blank pages. I also incorporated the patterned vellum sheets, creating some semi-transparent pages.


2020/07/22

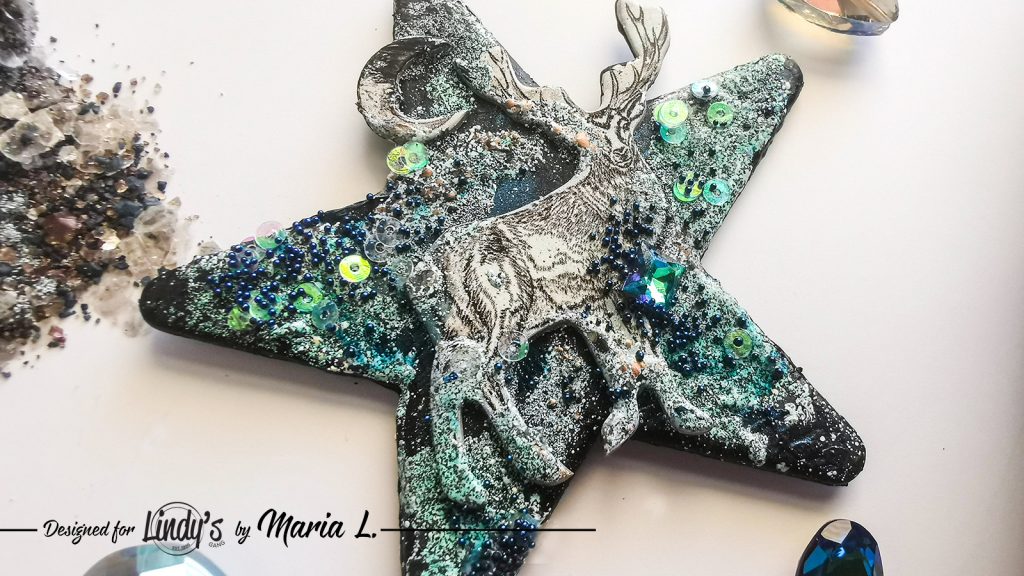
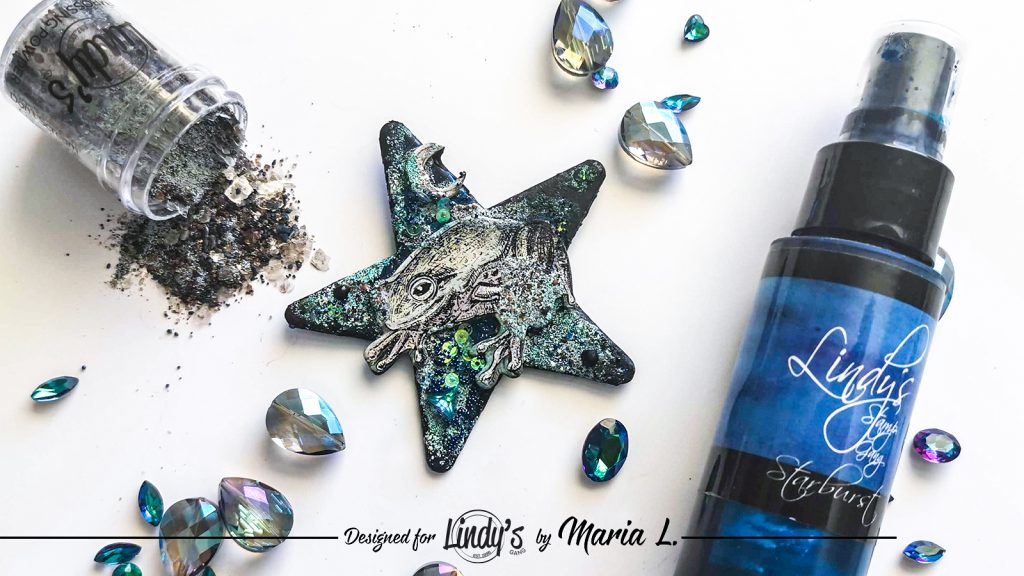
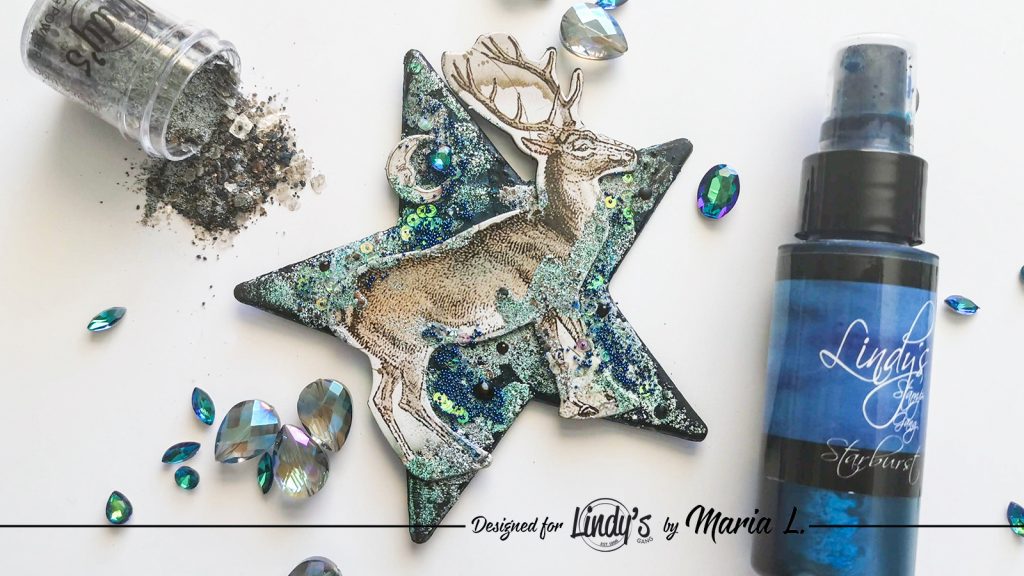
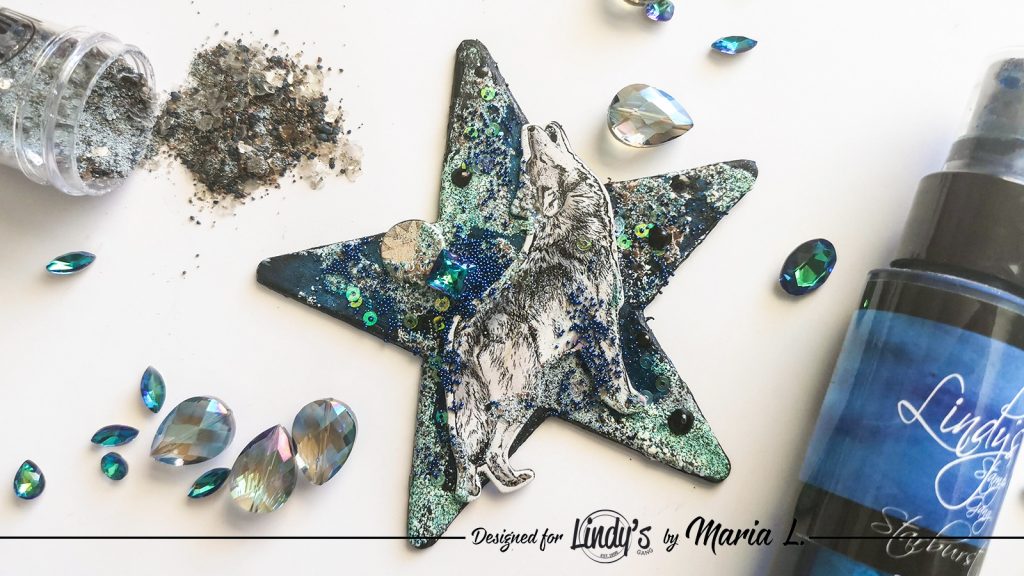
Cosmos magnets for Lindy´s Gang - TUTORIAL

Hi!

Here is a new tutorial on one of my favorite topics - cute little free form creations. I like to make free form ATCs and magnets a lot! They are great to give to friends as tiny gifts, aren´t they?


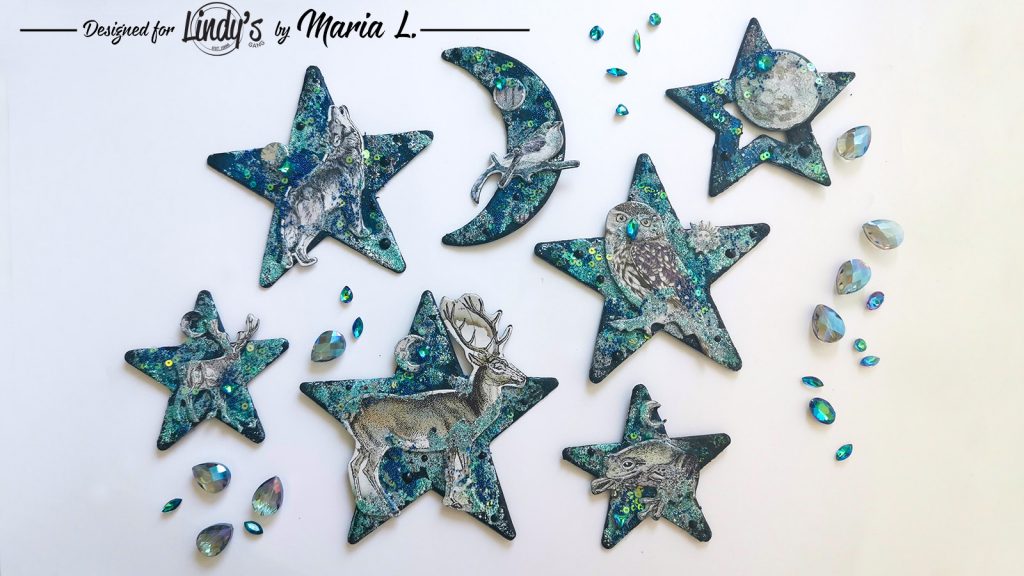
One of the fun ways to use Lindy´s Gang products is on the black background, mixing the sprakly Starbursts with chunky embossing powders. Here is my take. Enjoy my new video!


BASIC PROCESS
  • I took a handful of old plastic fluorescent stars and a little crescent from my kids´ nursery and decided to turn them into the cosmic magnets. My kids doesn´t need them anymore anyway... So I covered the stars with black gesso from both sides. By the way, it is a good idea to degrease the plastic with alcohol before applying the gesso.
  • After the gesso was dry, I added some color and shimmer, using Lindy´s Gang Starburst spray Bachelor Button Blue.
  • Later, I attached the main decorations - the chipboard die cuts - to the front stars, using a contact glue.
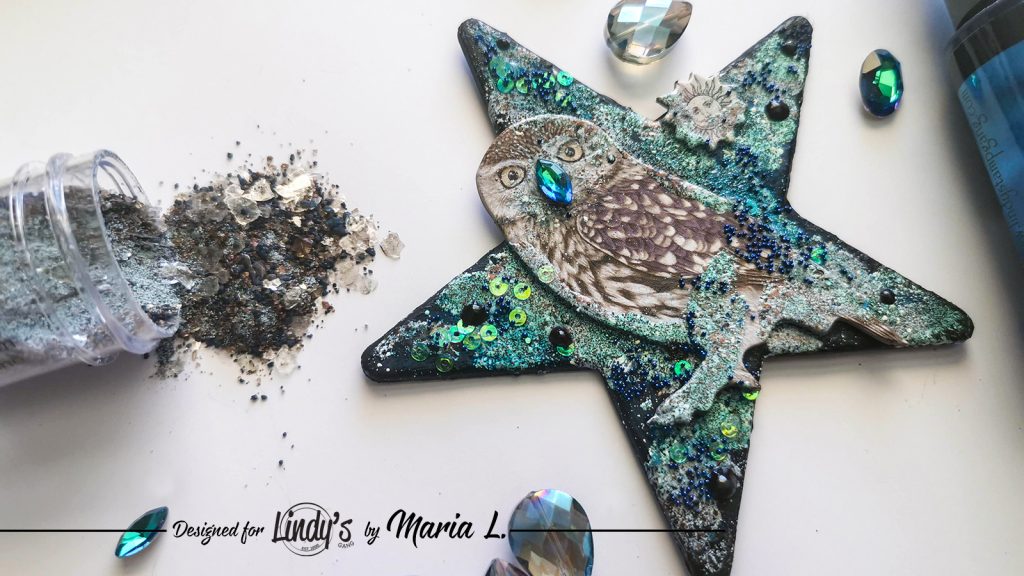
  • Then, I decided to enrich the background (and blend the chipboard with it) by applying two layers of chunky embossing powders. First I melted some Don´t Scream Aquamarine (from the Rock It! set), and then added some Carefree Verdigris (from the Metal Maniacs set).
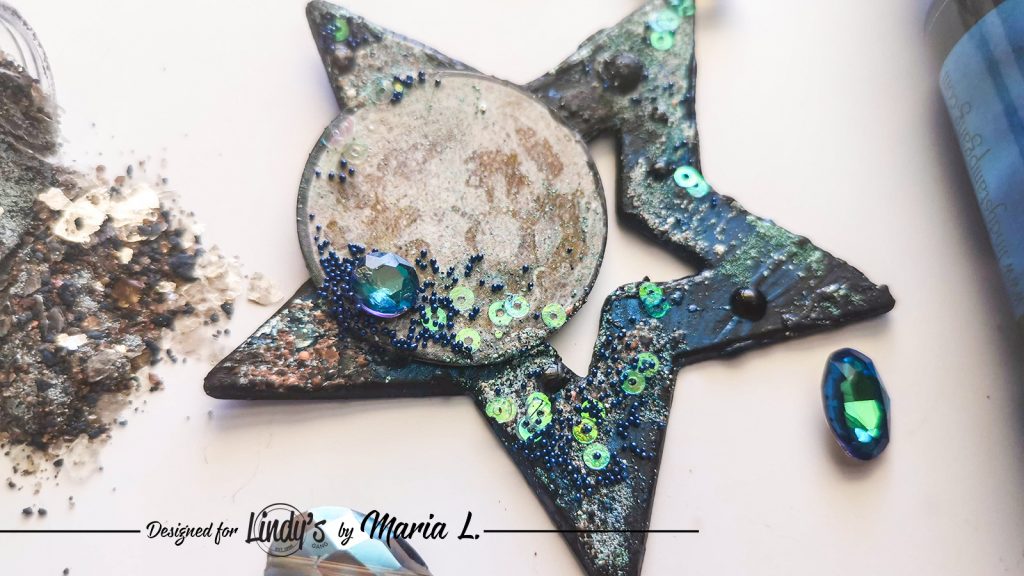
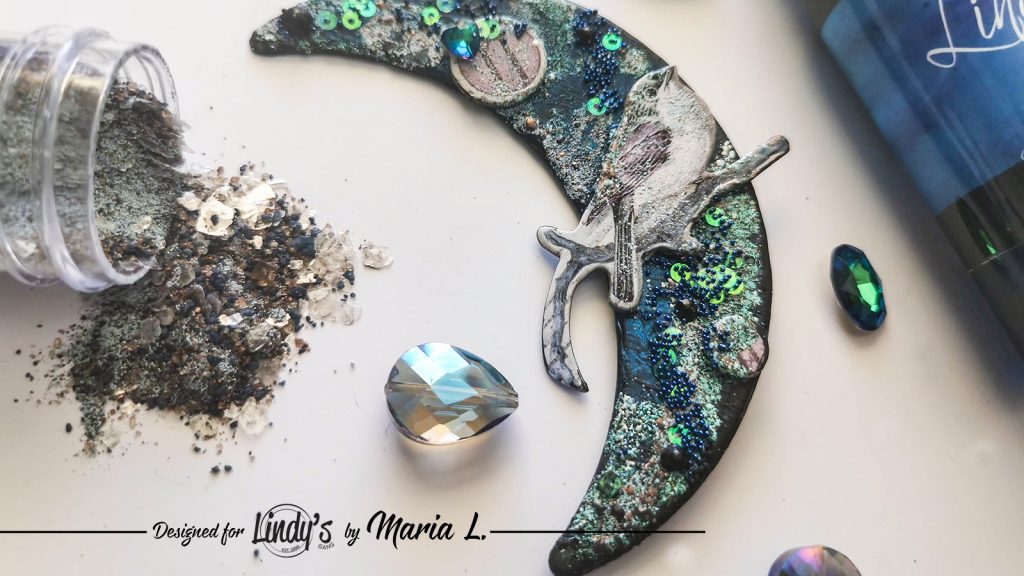
  • For additional decoration, I added some crystals, blue microbeads, iridescent sequins and black glass drops to the surface. I used soft gloss gel to glue the toppings.
  • When the stars were totally dry, I spayed them over with a glossy acrylic varnish.


Let´s see the magnets closer, shall we?


2020/07/20

Life is short - artbook layout for Art Daily Cafe

Dear Art Daily friends!

The quotes on my new art journal spread say "Life is short. Do more than just exist." I am sure these lines could be a life motto for all creative people around the world. 
I choose to live fully, to inspire other people around, and to stay inspired myself. Remembering the fact that the human life is short and fragile, I try to be a better person myself. Sometimes it is not easy at all. But I am doing my best :)


2020/07/01

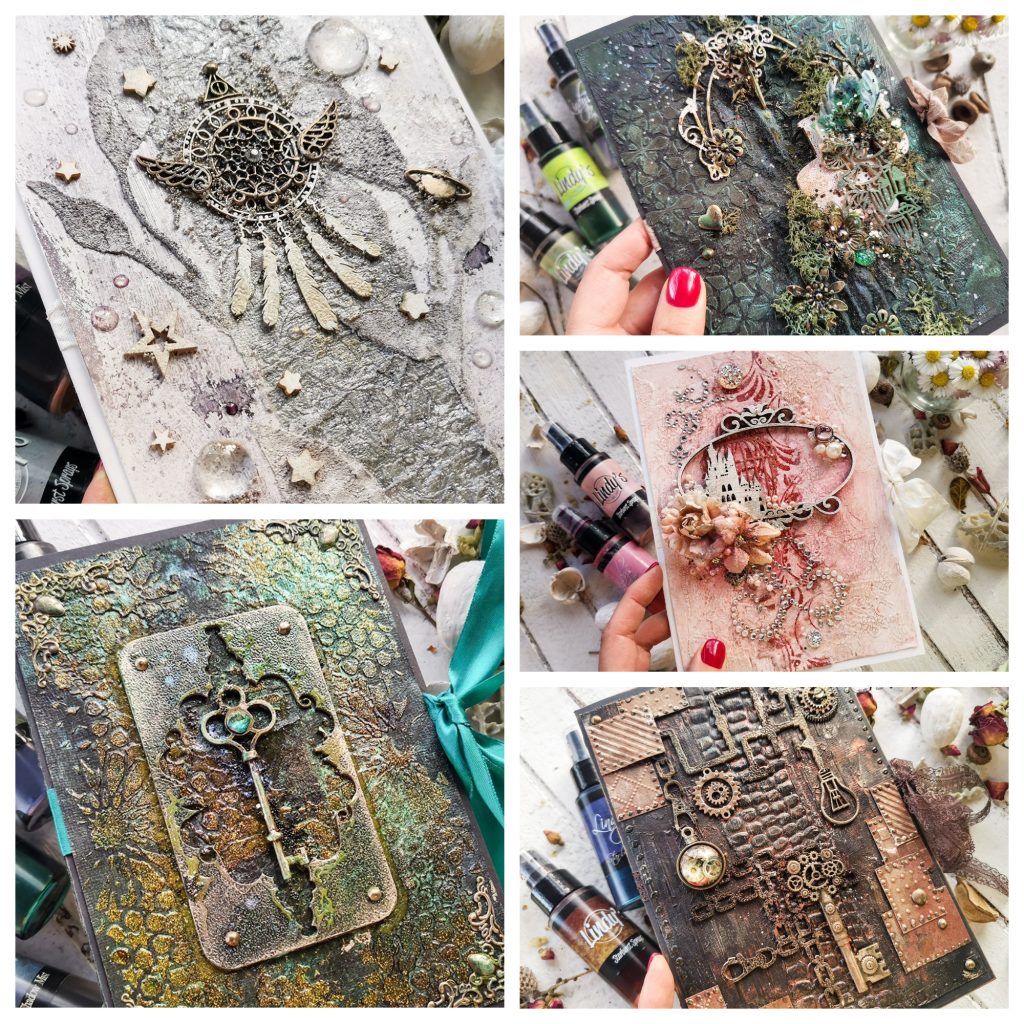
Five DIY easy mixed media gift cards / МК по миксмедийным папкам

Hi guys! 
This is me on the Lindy's Blog today with a new tutorial on how I made 5 different gift card holders for a professional photographer to give or sell to her clients. These holders are meant to keep the photography session gift cards.


According to the photographer´s wish, all the card holders are in different style. However, I used the same mixed media "algorithm" on all of them. It is pretty easy. Take a look!