Показаны сообщения с ярлыком 3D. Показать все сообщения

2020/09/14

DIY tote bag decoration tutorial

DIY tote bag tutorial by Maria Lillepruun

Hi, beautiful friends!

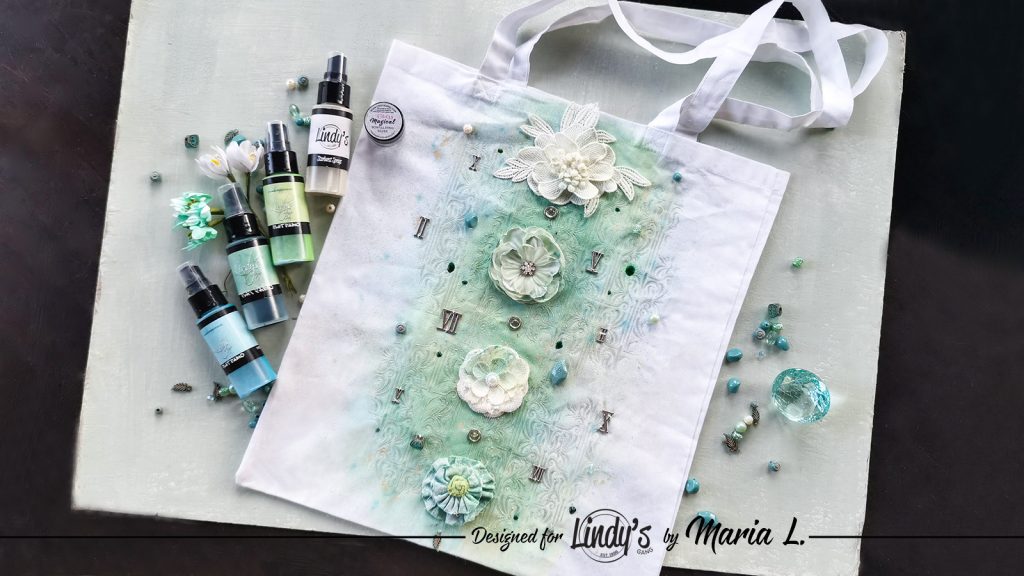
Do you use tote bags? I have to admit, I use them pretty often, and I especially like the ones with custom prints or other decorations. So here is my new tutorial on a DIY tote bag. I bought a simple white cotton bag and personalised it with the beautiful Lindy´s Gang products.
DIY tote bag tutorial by Maria Lillepruun

Here is how I altered the tote bag.

BASIC PROCESS

  1. I took a cotton tote bag and insterted a baking mat inside of it, so the back side of the bag would stay dry and clean after I color the front side.
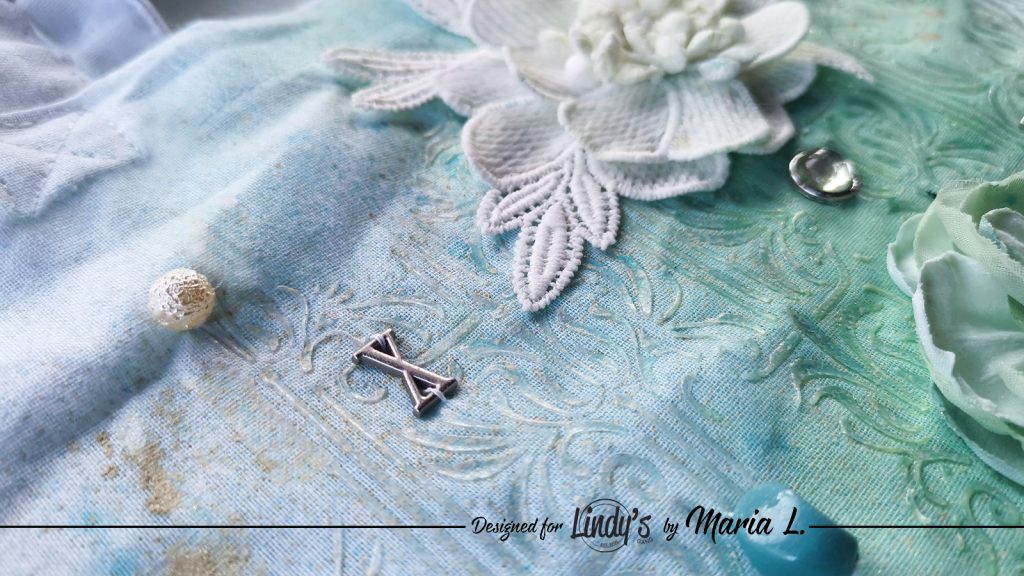
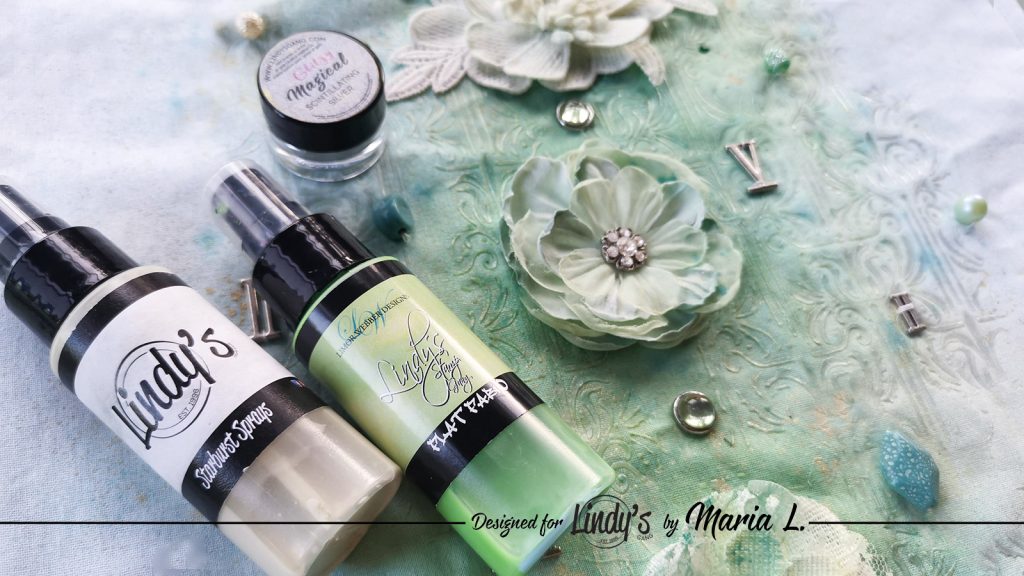
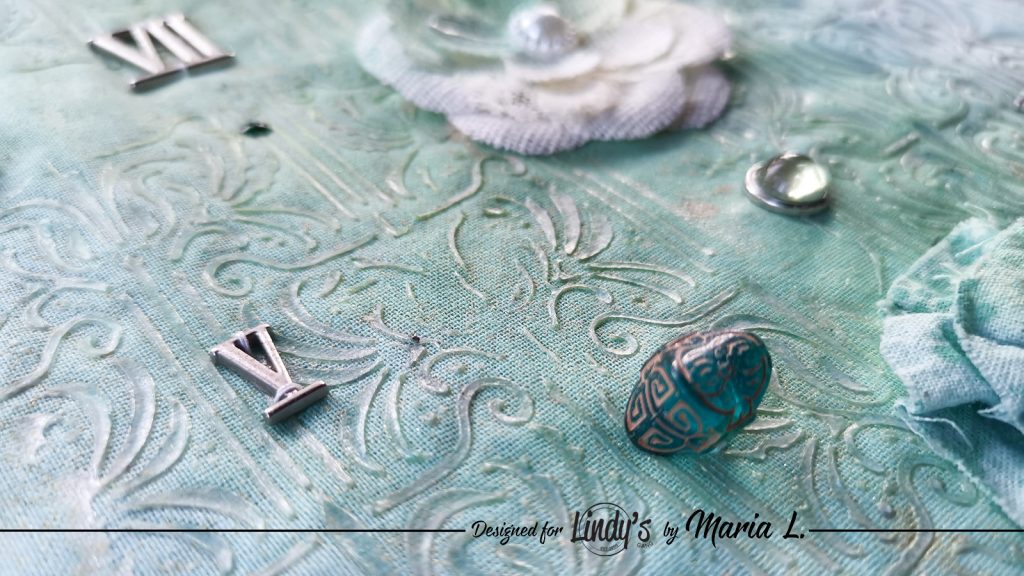
  2. Then, I prepared my custom texture paste by mixing the 3D gloss gel with the Scintillating Silver magical powder from the Glitzy Magicals set. My intentionwas to obtain some elastic transparent paste that would be somewhat sparkling after it would dry. Speaking ahead, I was very pleased with the result - check the end of my video for the close-up on the glossy texture on the tote bag surface!
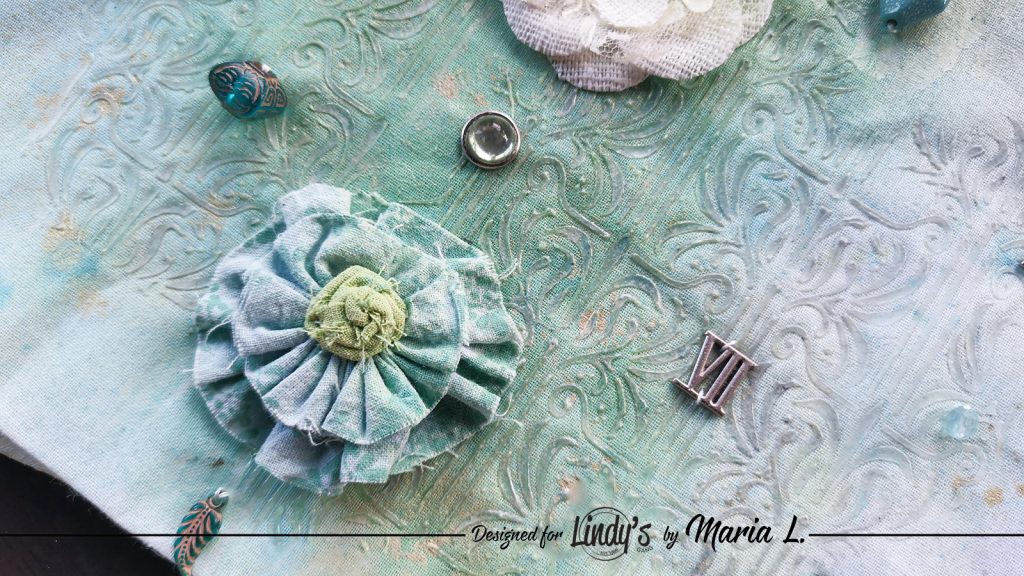
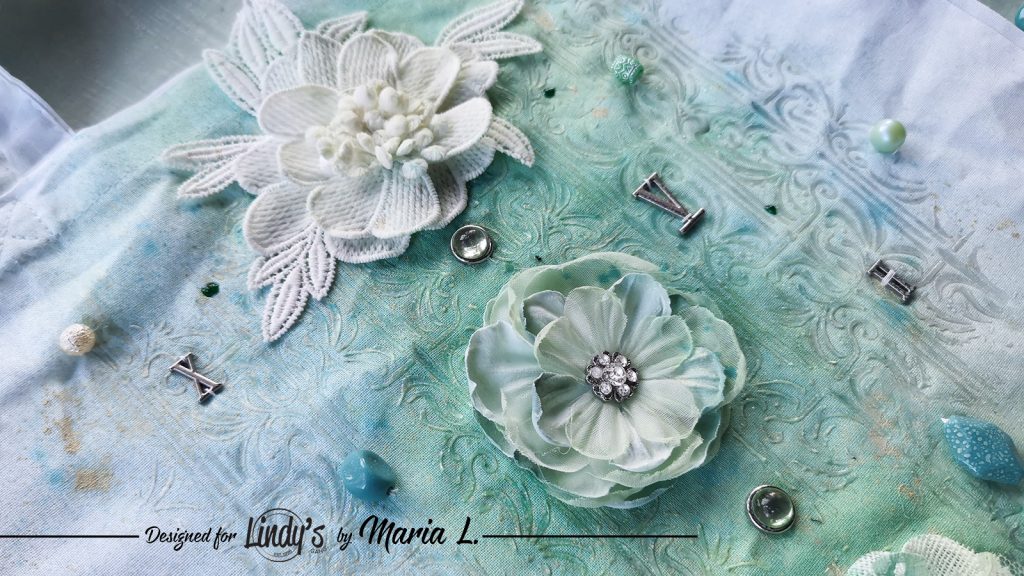
  3. I applied the custom made texture paste through the stencil on to the bag front side, and let it dry.
  4. After, I sprayed the surface over in a monocromatic way, using five ink sprays: Creme Brulee Cream, Mad Hatter Mint, Tilt-a-Wheel Teal, T-bird Turquoise and Merry-Go-Round Green, and let it dry completely.
  5. Later, glued all the embellishments with contact glue, and stitched them onto the bag.
  6. As a final touch, I added some color with the same sprays on the fabric flowers, and squeezed some green liquid drops here and there.
  7. When all was dry, I sprayed the decorated front side of the bag with satine acrylic varnish.
DIY tote bag tutorial by Maria Lillepruun

DIY tote bag tutorial by Maria Lillepruun

DIY tote bag tutorial by Maria Lillepruun

DIY tote bag tutorial by Maria Lillepruun


Lindy’s Products
Magical: Scintillating Silver (Glitzy Magicals set)

Other Products:
Tote bag, stencil, 3D Gloss Gel, flowers and metal embellishments (Prima Marketing Inc), plastic beads, emeral liquid drops (Fabrika Decoru), satine spray varnish (Lefranc&Bourgeois).

Thank you very much for your attention!

2020/09/09

Altered mixed media suitcase. Final post for Mixed Media Place

Hello, my dear Mixed Media Place friends!


This is Maria Lillepruun with you today. I am very excited to present you my final inspiration for this totally awesome blog! It was a wonderful journey!
I love altering stuff, so my family and friends keep bringing me their old things with the words: "I haven´t throw it away, because I thought you might actually want to do something with it..." I am sure many of you can relate to this situation :) So today I decided to show you a large mixed media project. I prepared a video tutorial on how I altered an old cardboard suitcase, that used to belong to a friend of mine.


Firts of all, I covered the inner side of the suitcase with the vintage decorative paper. It is an easy and effective way to decorate the insides of all kind of boxes. I used Gloss Gel medium to stick this flexible paper to the surface. 
Then I used some Heavy Body Gel to attach a few wooden decorations to the sides, as well as some background chipboard, metallic and glass embellishments, a flower and some art pebbles to the suitcase cover. Then I colored the whole suitcase black, using the Heavy Gesso. The only things uncovered were the textile flower, and the glass balls and pebbles.
Then, I sprayed the suitcase with shimmering Lindy´s Gang sprays, using copper and bronze shades. Once the surface was dry, I touched up the background and the embellishments with metallic acrylic paint. Also, I made some highlights here and there with White Gold wax.
I also added some curious heat embossed areas to the surface, using some chunky embossing powder. The final glamorous step was to sprinkle some golden glass glitter to the focal point of the suitcase cover.
And voilà, my vintage decorated suitcase is ready! Totally functional, of course :)


Altered mixed media suitace tutorial by Maria Lillepruun

Altered mixed media suitace tutorial by Maria Lillepruun

Altered mixed media suitace tutorial by Maria Lillepruun

Altered mixed media suitace tutorial by Maria Lillepruun

Altered mixed media suitace tutorial by Maria Lillepruun

Altered mixed media suitace tutorial by Maria Lillepruun

Altered mixed media suitace tutorial by Maria Lillepruun

Altered mixed media suitace tutorial by Maria Lillepruun

Altered mixed media suitace tutorial by Maria Lillepruun

Altered mixed media suitace tutorial by Maria Lillepruun

Thank you for your attention throughout this amazing year that I have been a part of the Mixed Meda Place design team! Enjoy this last video. 
Hopefully, we´ll meet again one day :)

Love 

Maria Lillepruun


Mixed Media Place supplies:


2020/08/24

Letter K - 3D nursery decor tutorial

Hi to all mixed media friends!

Please meet my daughter Karolina. This time I made an interior letter decoration for her bedroom and shot a tutorial for you.

Mixed media 3D letter for kids´ nursery by Maria Lillepruun

I bought this 3D cardstock letter "K" in a hobby shop, and decided to decorate it in a cheerful but tender style. Of course, the letter is very pink :) Karolina is a real princess, and is going through a pink phase now. Everything is pink in her room, so this decorative letter is not exception.

Mixed media 3D letter for kids´ nursery by Maria Lillepruun

First, I primed the brown cardstock with heavy white gesso, which created a nice base for the future color invasions. When the gesso layer was dry, I colored the letter with a mix of metallic paint and mica powder. Such mixture left the beautiful colored surface with a hint of mother-of-pearl shine.

Mixed media 3D letter for kids´ nursery by Maria Lillepruun

Then, I applied some texture paste through the stencil on the front side, and left some texture paste traces on all the other angles of the letter. I glued on some plastic figurines, diamond art pebbles, Prima Marketing flowers and the picture of my daughter of course. The latter is places within a beautiful chipboard frame. The frame and all the embellishments are touched up with my favourite Sparks paint - Unicorn Hair.

Mixed media 3D letter for kids´ nursery by Maria Lillepruun

Mixed media 3D letter for kids´ nursery by Maria Lillepruun

I also added some minor details like pink plastic beads and glitter as final decoration.


Mixed media 3D letter for kids´ nursery by Maria Lillepruun

Mixed media 3D letter for kids´ nursery by Maria Lillepruun

Mixed media 3D letter for kids´ nursery by Maria Lillepruun


Thank you! Enjoy the video tutorial.


Mixed Media Place supplies: