I combined the beautiful patterned paper and fussy cut elements from Craft O´Clock with some light mixed media additions like stamping, distress ink coloring and ink spray splatter. Also, I always seal my bookmarks with Mod Podge or decoupage varnish, because it makes the paper bases really strong and flexible, as well as prevents any paint from leaking onto the book pages.
Used products:
Patterned paper strips "Fleeting Moments" (Craft O´Clock)
Fussy cut elements from the same collection (Craft O´Clock)
Extras to cut - Leaves IV and Leaves VII (Craft O´Clock)
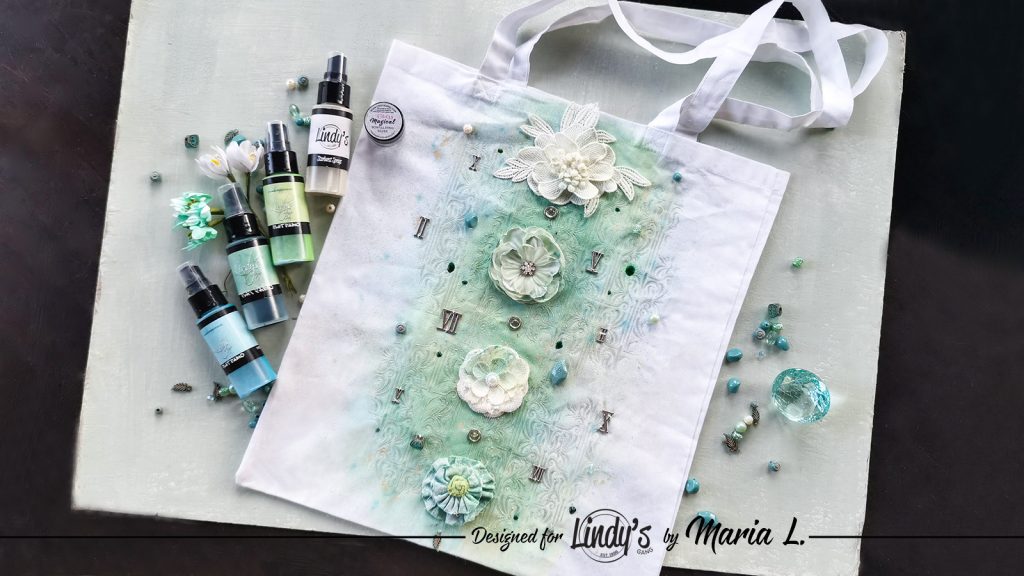
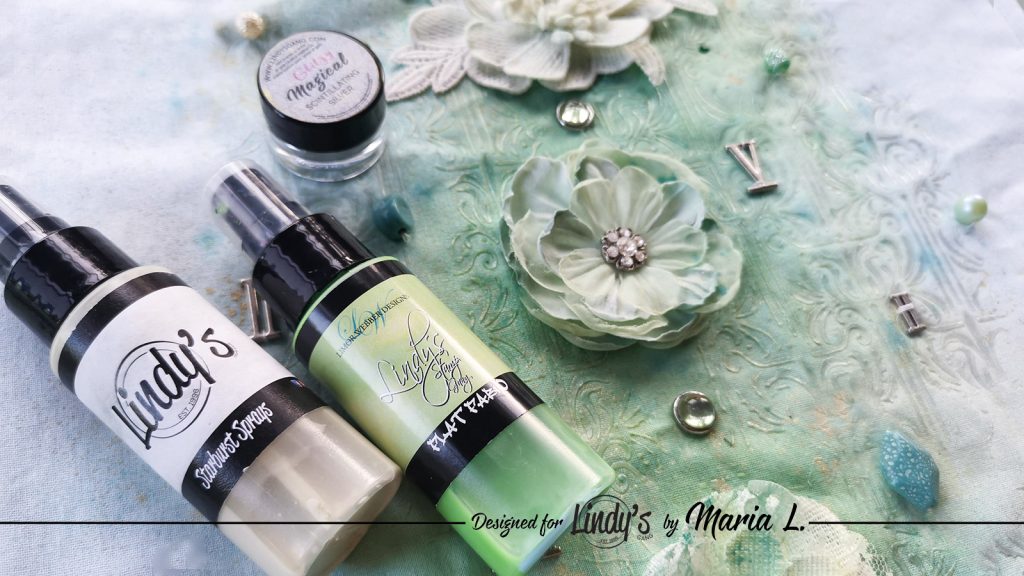
Do you use tote bags? I have to admit, I use them pretty often, and I especially like the ones with custom prints or other decorations. So here is my new tutorial on a DIY tote bag. I bought a simple white cotton bag and personalised it with the beautiful Lindy´s Gang products.
Here is how I altered the tote bag.
BASIC PROCESS
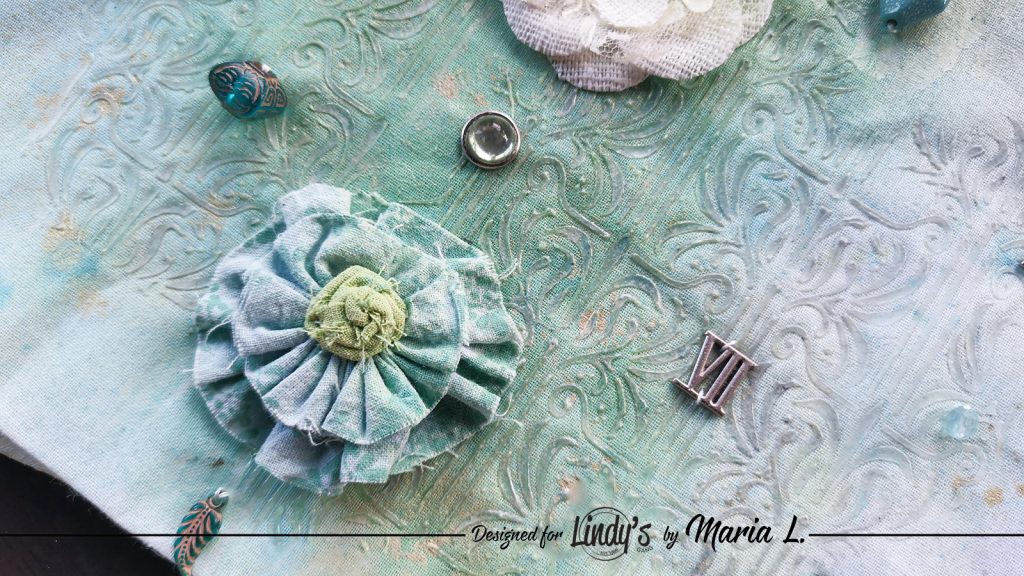
I took a cotton tote bag and insterted a baking mat inside of it, so the back side of the bag would stay dry and clean after I color the front side.
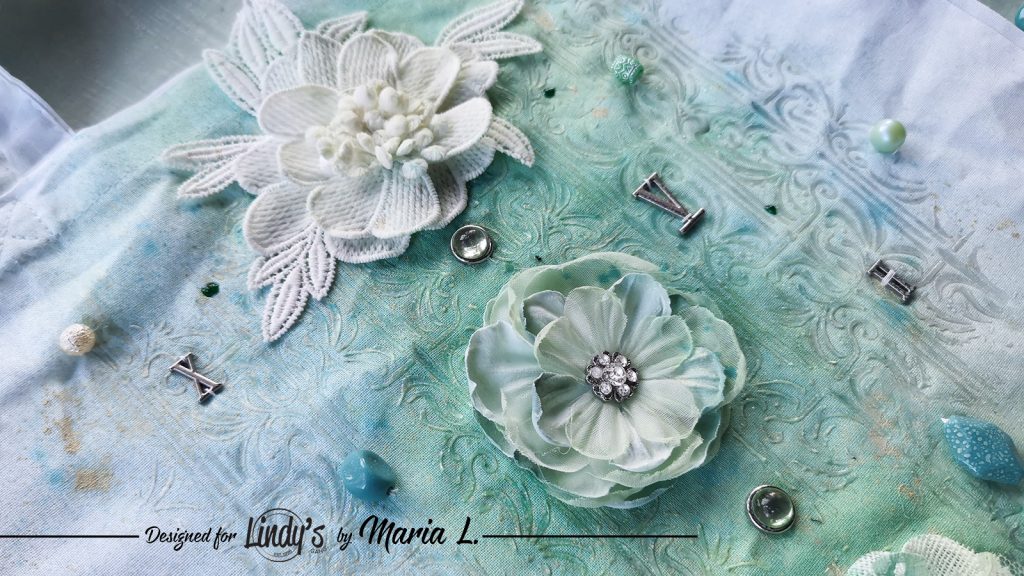
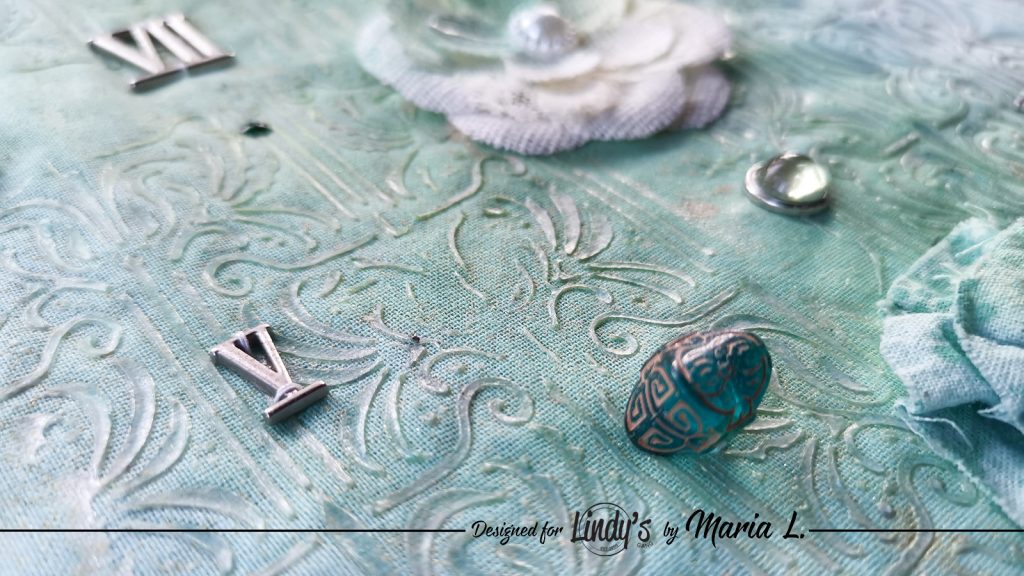
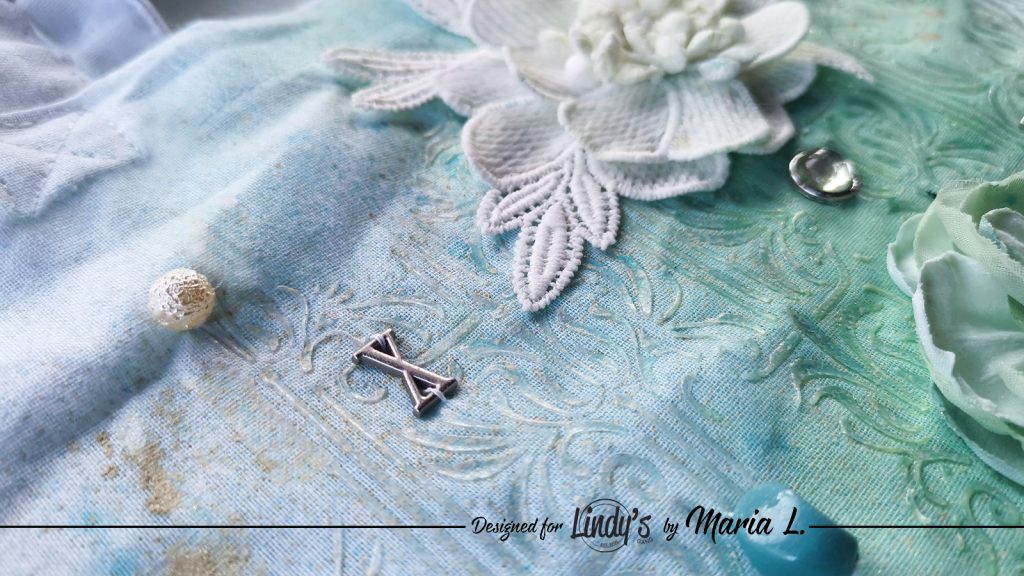
Then, I prepared my custom texture paste by mixing the 3D gloss gel with the Scintillating Silver magical powder from the Glitzy Magicals set. My intentionwas to obtain some elastic transparent paste that would be somewhat sparkling after it would dry. Speaking ahead, I was very pleased with the result - check the end of my video for the close-up on the glossy texture on the tote bag surface!
I applied the custom made texture paste through the stencil on to the bag front side, and let it dry.
This is Maria Lillepruun with you today. I am very excited to present you my final inspiration for this totally awesome blog! It was a wonderful journey!
I love altering stuff, so my family and friends keep bringing me their old things with the words: "I haven´t throw it away, because I thought you might actually want to do something with it..." I am sure many of you can relate to this situation :) So today I decided to show you a large mixed media project. I prepared a video tutorial on how I altered an old cardboard suitcase, that used to belong to a friend of mine.
Firts of all, I covered the inner side of the suitcase with the vintage decorative paper. It is an easy and effective way to decorate the insides of all kind of boxes. I used Gloss Gel medium to stick this flexible paper to the surface.
Then I used some Heavy Body Gel to attach a few wooden decorations to the sides, as well as some background chipboard, metallic and glass embellishments, a flower and some art pebbles to the suitcase cover. Then I colored the whole suitcase black, using the Heavy Gesso. The only things uncovered were the textile flower, and the glass balls and pebbles.
Then, I sprayed the suitcase with shimmering Lindy´s Gang sprays, using copper and bronze shades. Once the surface was dry, I touched up the background and the embellishments with metallic acrylic paint. Also, I made some highlights here and there with White Gold wax.
I also added some curious heat embossed areas to the surface, using some chunky embossing powder. The final glamorous step was to sprinkle some golden glass glitter to the focal point of the suitcase cover.
And voilà, my vintage decorated suitcase is ready! Totally functional, of course :)
Thank you for your attention throughout this amazing year that I have been a part of the Mixed Meda Place design team! Enjoy this last video.