2020/08/31

Mixed media magnets tutorial

Hello, dear mixed media friends!

Today I will show you how I make little cute decorative magnets using the moulds and the air hardening clay. The process is quite simple but the result is rather impressive. Such little cuties are great to give as a gift to friends, or to use on your own fridge or magnet boards as decorations.

Mixed media clay magnets tutorial by Maria Lillepruun

First, I picked a very beautiful ornamental silicone mold by Prima Marketing Inc, and made some castings using some very light air hardening clay.

Mixed media clay magnets tutorial by Maria Lillepruun

Mixed media clay magnets tutorial by Maria Lillepruun

Then, I let the clay dry and colored all the future magnets black on both side, using heavy gesso black.

Mixed media clay magnets tutorial by Maria Lillepruun

Mixed media clay magnets tutorial by Maria Lillepruun

When the gesso layer was also dry, I sprayed the pieces with Lindy´s Gang ink sprays. That brought some basic color to the surface.

Mixed media clay magnets tutorial by Maria Lillepruun

Mixed media clay magnets tutorial by Maria Lillepruun

Then, I chose the Opal Magic wax "Green Brocade" to touch up the texture on the clay cast magnets, bringing forward the whole beauty.

Mixed media clay magnets tutorial by Maria Lillepruun

Mixed media clay magnets tutorial by Maria Lillepruun

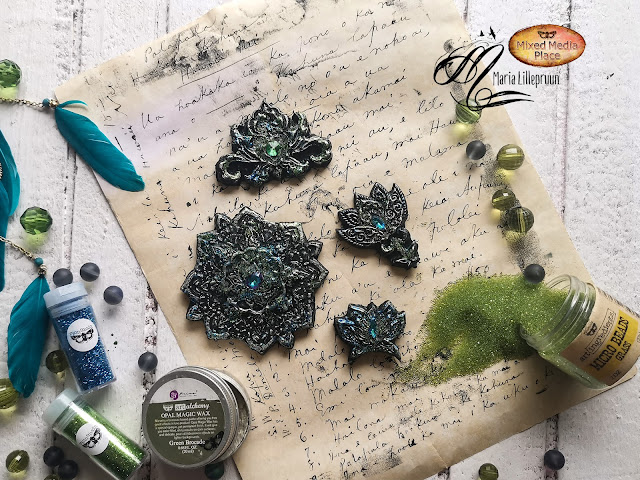
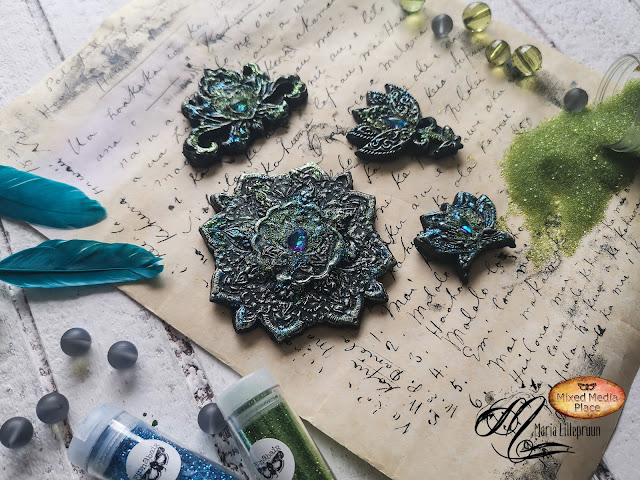
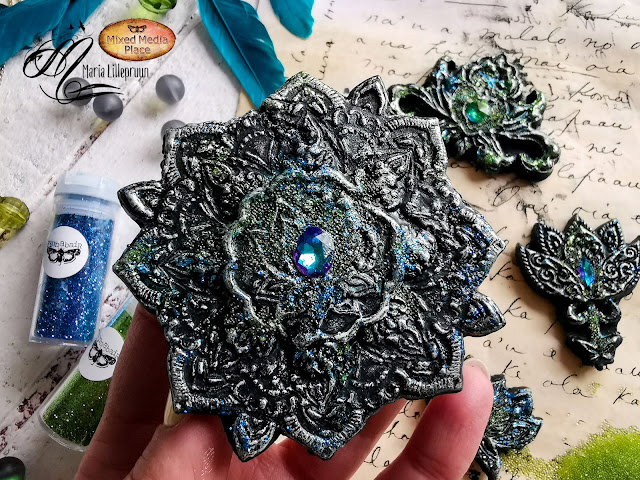
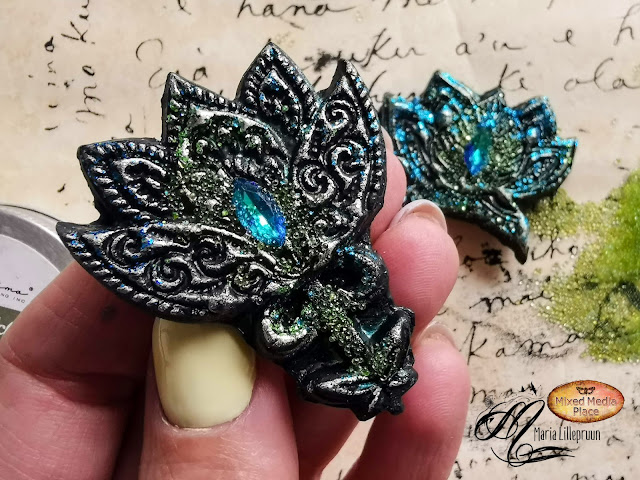
Now, it was time for pure fun! I attached the main elements - the little sparkling crystals - to the middle of the magnets, and glued on some blue and green glitter, using 3D Gloss Gel for it.Finally, I attached some grass colored micro beads to the surface, turning my magnets into the little mysterious candies.


I hope you like the video tutorial. Thank you for your attention!


Mixed Media Place suppliesŁ

2020/08/27

Vintage layout tutorial for Craft O´Clock

Hi! 
I have tried out the new patterned paper collection "Faded Memories" by Craft O´Clock. What a beauriful vintage combination of greens and browns! My favourite color scheme. 

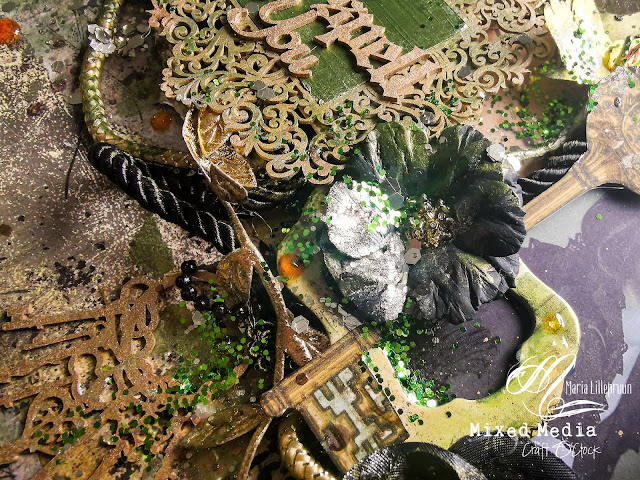
So I decided to make a mystical layout with opening doors and hidden secrets :) Besides the new collection paper and chipboard, I used some extras to cut - Keys and Clocks. These additions are perfect for vintage projects. Enjoy the full process video on YT!


Vintage mixed media layout by Maria Lillepruun tutorial

Vintage mixed media layout by Maria Lillepruun tutorial

Vintage mixed media layout by Maria Lillepruun tutorial

Vintage mixed media layout by Maria Lillepruun tutorial

Vintage mixed media layout by Maria Lillepruun tutorial

Vintage mixed media layout by Maria Lillepruun tutorial

Vintage mixed media layout by Maria Lillepruun tutorial

Vintage mixed media layout by Maria Lillepruun tutorial

Vintage mixed media layout by Maria Lillepruun tutorial

Vintage mixed media layout by Maria Lillepruun tutorial


2020/08/24

Letter K - 3D nursery decor tutorial

Hi to all mixed media friends!

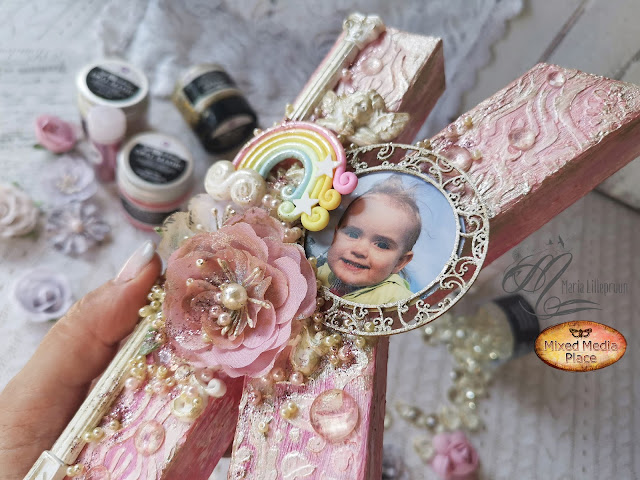
Please meet my daughter Karolina. This time I made an interior letter decoration for her bedroom and shot a tutorial for you.

Mixed media 3D letter for kids´ nursery by Maria Lillepruun

I bought this 3D cardstock letter "K" in a hobby shop, and decided to decorate it in a cheerful but tender style. Of course, the letter is very pink :) Karolina is a real princess, and is going through a pink phase now. Everything is pink in her room, so this decorative letter is not exception.

Mixed media 3D letter for kids´ nursery by Maria Lillepruun

First, I primed the brown cardstock with heavy white gesso, which created a nice base for the future color invasions. When the gesso layer was dry, I colored the letter with a mix of metallic paint and mica powder. Such mixture left the beautiful colored surface with a hint of mother-of-pearl shine.

Mixed media 3D letter for kids´ nursery by Maria Lillepruun

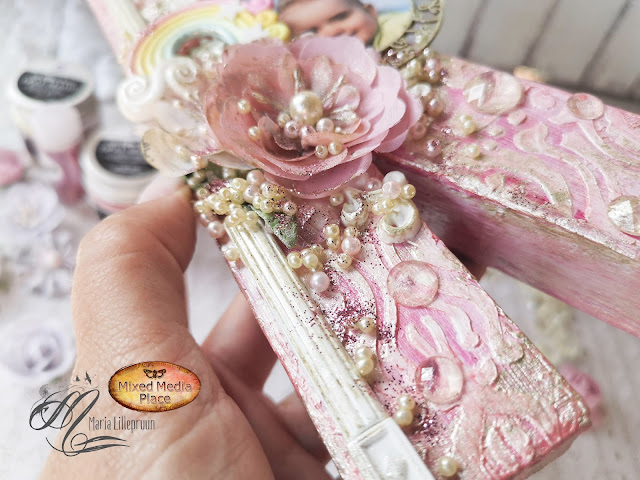
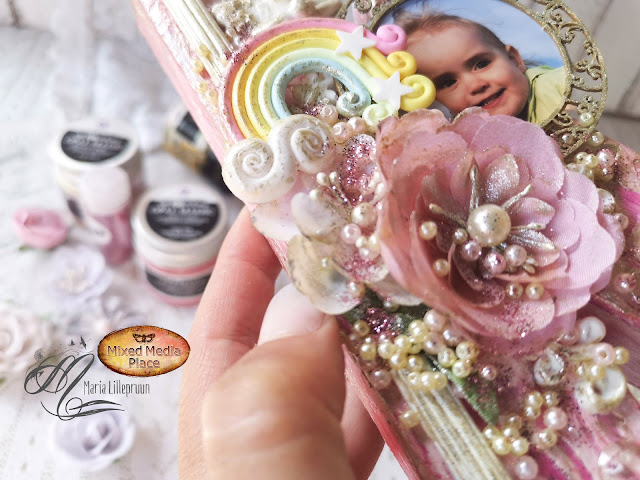
Then, I applied some texture paste through the stencil on the front side, and left some texture paste traces on all the other angles of the letter. I glued on some plastic figurines, diamond art pebbles, Prima Marketing flowers and the picture of my daughter of course. The latter is places within a beautiful chipboard frame. The frame and all the embellishments are touched up with my favourite Sparks paint - Unicorn Hair.

Mixed media 3D letter for kids´ nursery by Maria Lillepruun

Mixed media 3D letter for kids´ nursery by Maria Lillepruun

I also added some minor details like pink plastic beads and glitter as final decoration.


Mixed media 3D letter for kids´ nursery by Maria Lillepruun

Mixed media 3D letter for kids´ nursery by Maria Lillepruun

Mixed media 3D letter for kids´ nursery by Maria Lillepruun


Thank you! Enjoy the video tutorial.


Mixed Media Place supplies:


2020/08/23

Mixed Media Place August challenge

Hi guys! 

Mixed Media Place new summery mood board is very beautiful, isn´t it? I was inspired by the acrylic pouring image, as well as the colors and the flowers on the board. 

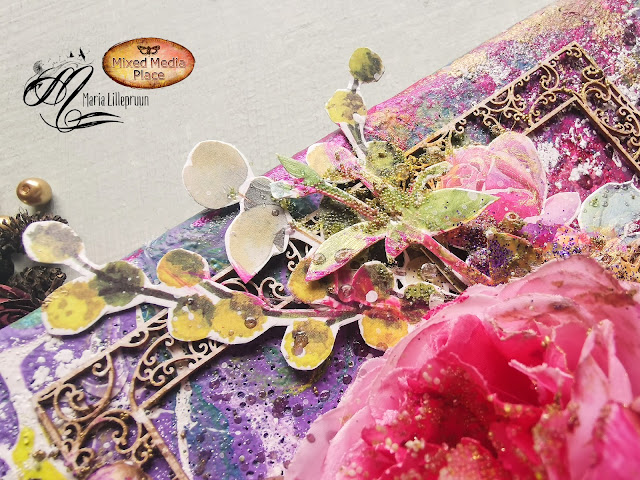
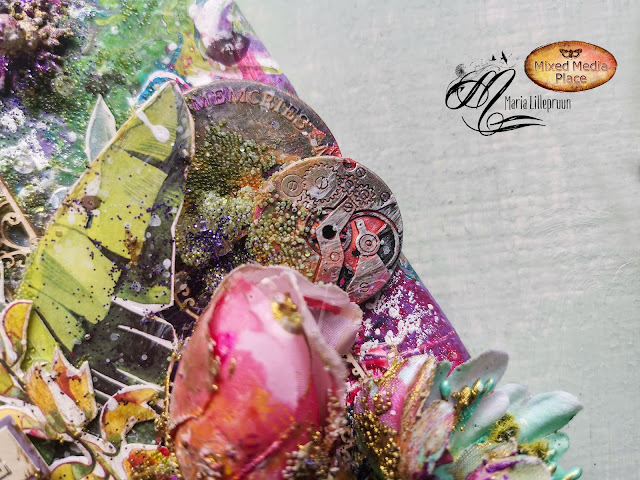
I primed the canvas black and did some acrylic pouring on it myself. I also did some text stamping on the canvas, and heat embossed it with white powder. Then, I assembled some volumous decorations on top of it. I layered dies cuts, chipboard, metallic embellishments and artificial flowers. I painted them all with acrylic paints, and added some toppings (beads and glitter) on top of the project.

Mixed media canvas

Mixed media canvas

Our mood board


Mixed media canvas

Mixed media canvas

Mixed media canvas

Mixed media canvas