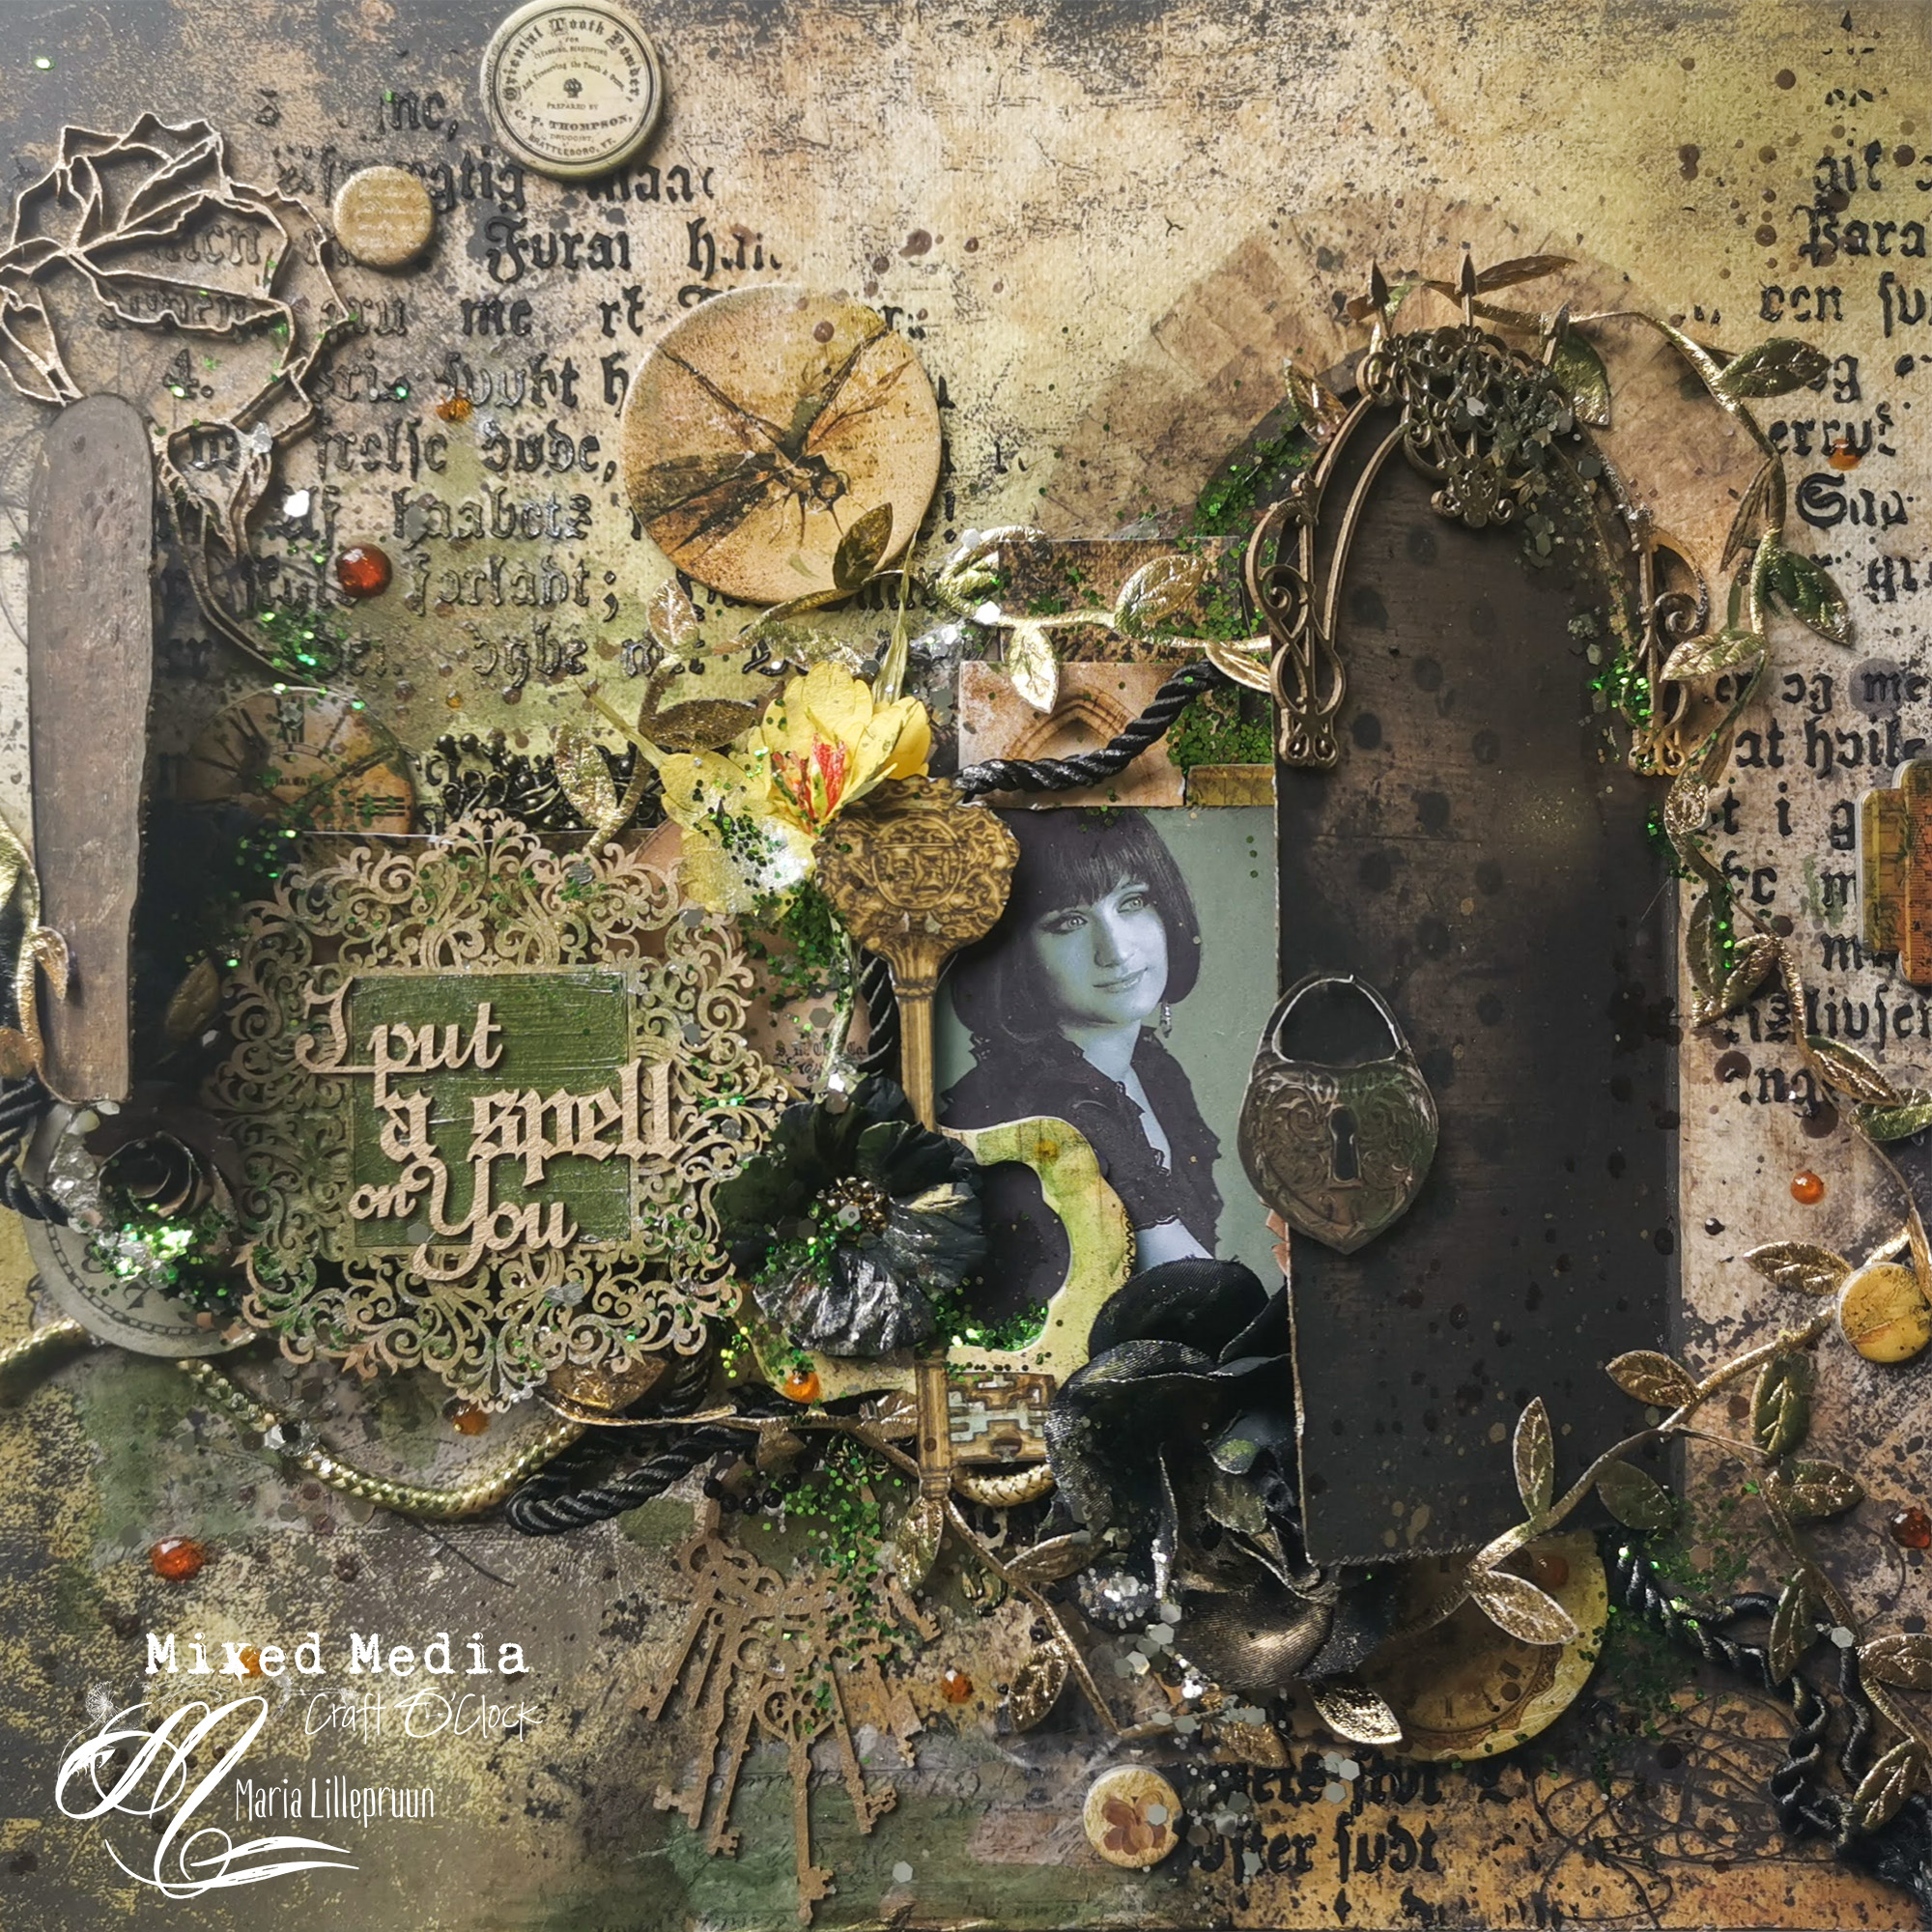
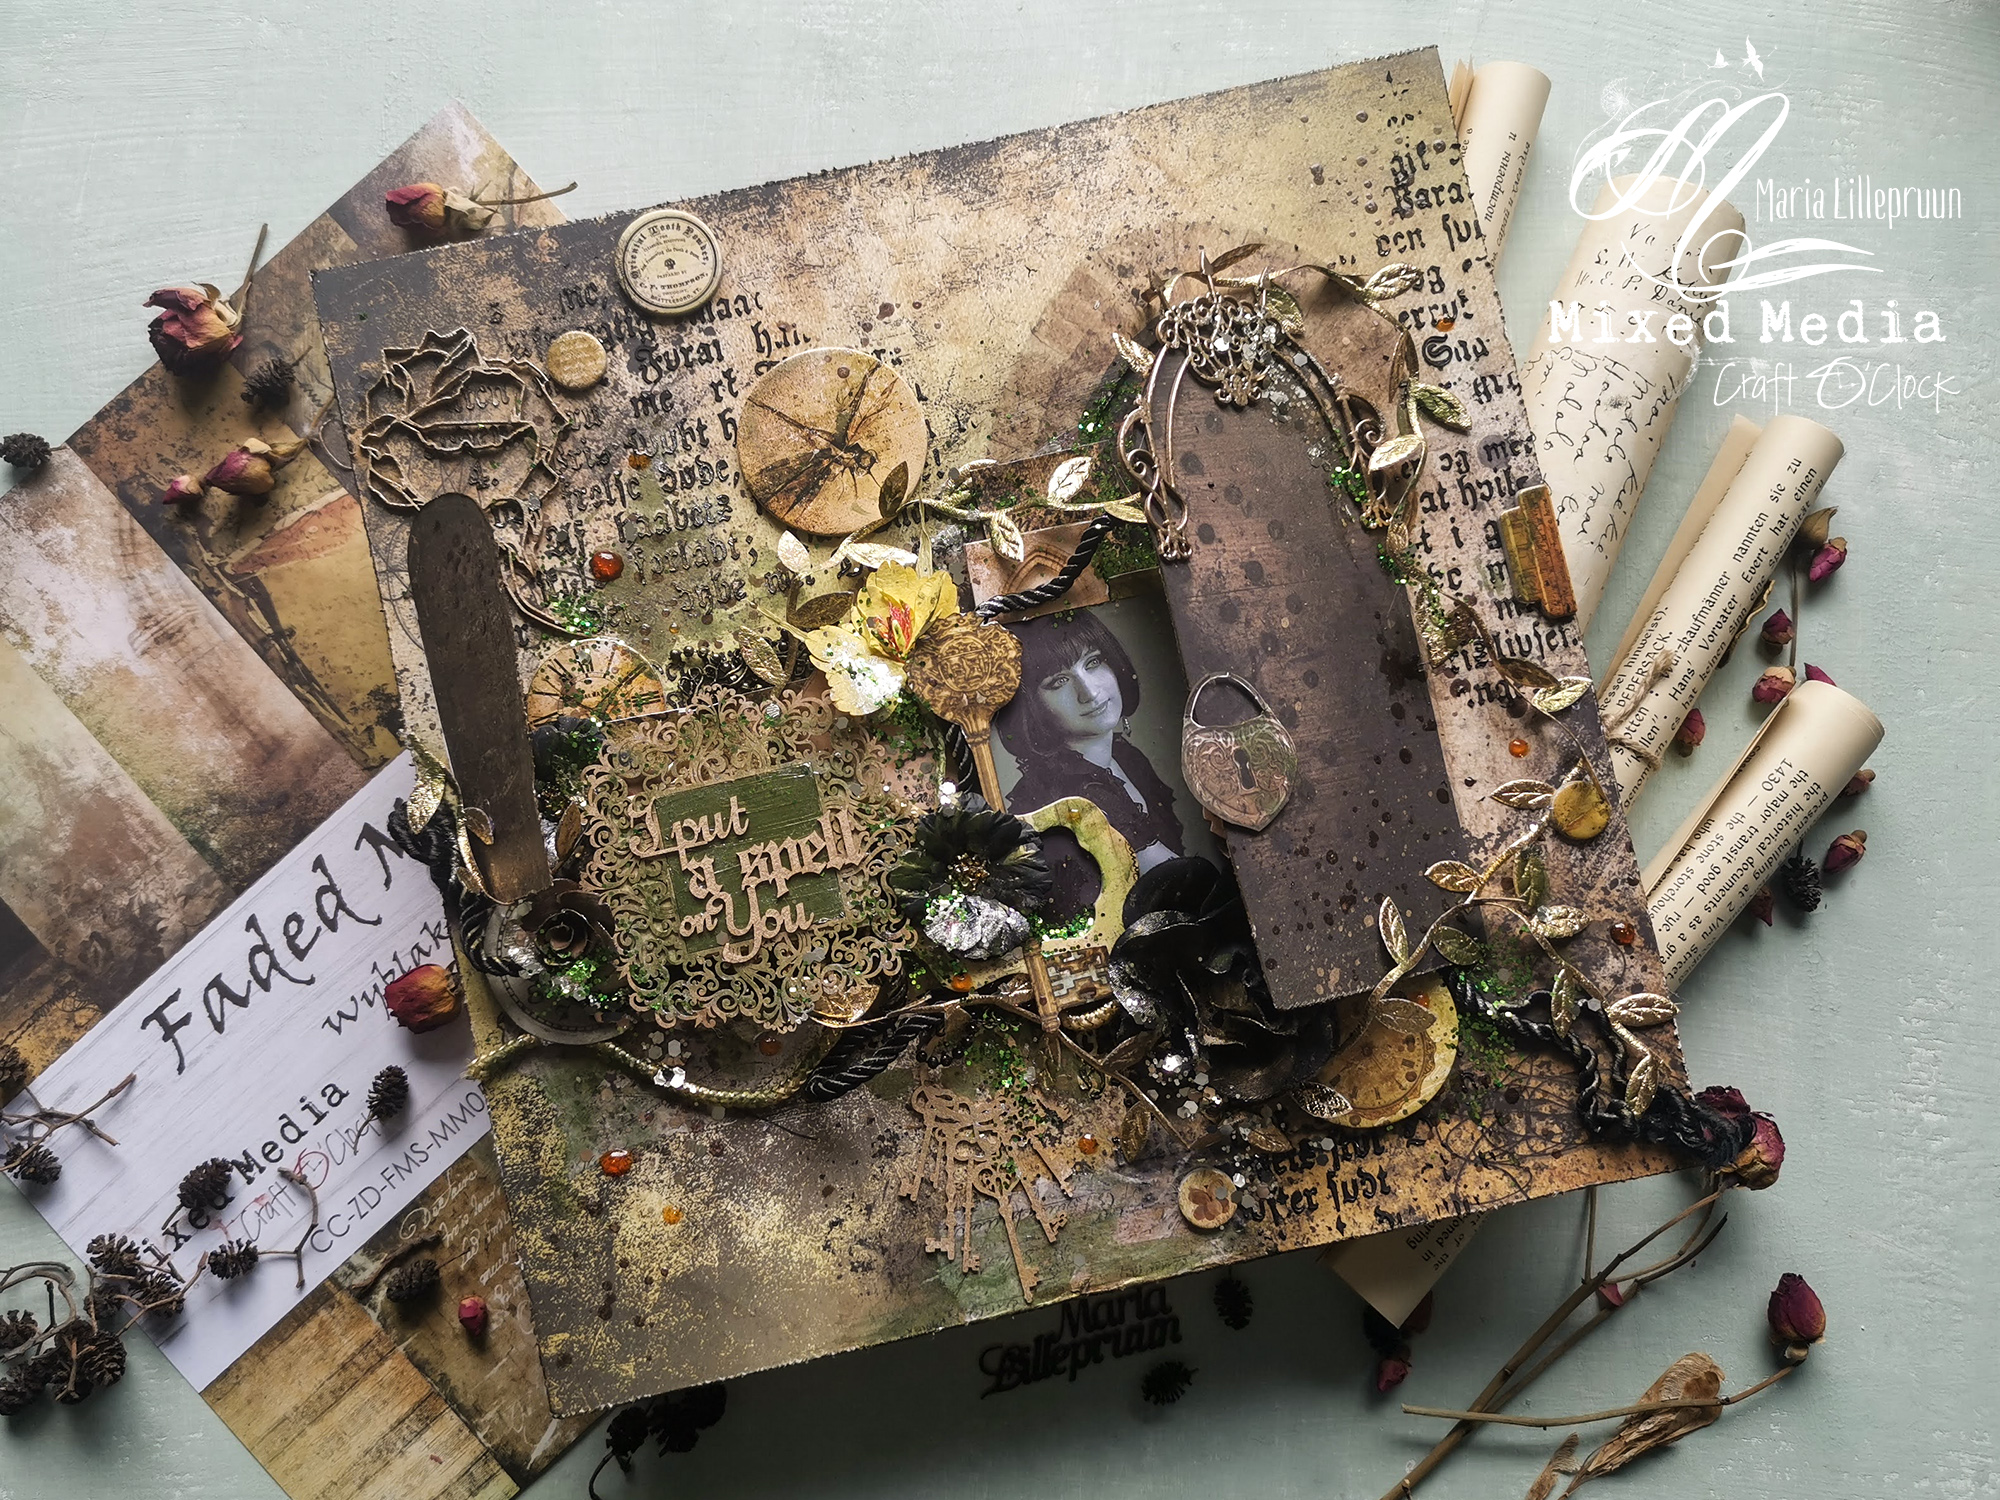
I have tried out the new patterned paper collection "Faded Memories" by Craft O´Clock. What a beauriful vintage combination of greens and browns! My favourite color scheme.
So I decided to make a mystical layout with opening doors and hidden secrets :) Besides the new collection paper and chipboard, I used some extras to cut - Keys and Clocks. These additions are perfect for vintage projects. Enjoy the full process video on YT!
Please meet my daughter Karolina. This time I made an interior letter decoration for her bedroom and shot a tutorial for you.
I bought this 3D cardstock letter "K" in a hobby shop, and decided to decorate it in a cheerful but tender style. Of course, the letter is very pink :) Karolina is a real princess, and is going through a pink phase now. Everything is pink in her room, so this decorative letter is not exception.
First, I primed the brown cardstock with heavy white gesso, which created a nice base for the future color invasions. When the gesso layer was dry, I colored the letter with a mix of metallic paint and mica powder. Such mixture left the beautiful colored surface with a hint of mother-of-pearl shine.
Then, I applied some texture paste through the stencil on the front side, and left some texture paste traces on all the other angles of the letter. I glued on some plastic figurines, diamond art pebbles, Prima Marketing flowers and the picture of my daughter of course. The latter is places within a beautiful chipboard frame. The frame and all the embellishments are touched up with my favourite Sparks paint - Unicorn Hair.
I also added some minor details like pink plastic beads and glitter as final decoration.
Mixed Media Place new summery mood board is very beautiful, isn´t it? I was inspired by the acrylic pouring image, as well as the colors and the flowers on the board.
I primed the canvas black and did some acrylic pouring on it myself. I also did some text stamping on the canvas, and heat embossed it with white powder. Then, I assembled some volumous decorations on top of it. I layered dies cuts, chipboard, metallic embellishments and artificial flowers. I painted them all with acrylic paints, and added some toppings (beads and glitter) on top of the project.
Today´s video is something different from what I had been shooting before. Recently, I bought this Día de Muertos Mexican mask in a local second-hand shop. It is made rather cheaply and cost me just 2 EUR. The mask was rather dirty, so I washed it with a damp tissue. There are many little bits of damage in the paint layer, as well as a bigger paint loss on the nose area. So I decided to restore the vivid colors and add something even more to the mask…
I should definitely mention that my artistic alteration of the mask is not a proper museum restoration. This is simply to refresh the once beautiful mask so that I could hang it on al wall or maybe even wear to a masquerade. So please do not try to repeat the process on a really old or valuable piece of art
Basic Process
First, I cleaned the mask with a damp cloth. I also cleaned the inside of the mask with ethanol and painted white. This process is not on the video, sorry.
The next step is the paint layer renewal. I mixed the chosen Lindy´s Magicals with the soft gloss gel, which resulted in beautiful semi-transparent paints. No water needed for the paints. I had some near me only to clean the brushes. My chosen Magicals were of the same colors that were present on the mask. So I picked Rizzo´Rowdy Red for the red areas, Tears on My Pillow Tangerine for the orange, Golden Sleigh Bells to retouch the yellow parts, Edelweiss Moss Green for green and French Lilac Violet for purple areas. I colored all the originally painted parts over with my new self-made paint and let it dry. I also colored the edges of the fabric leaves with the same Edelweiss Moss Green paint to make them look more versatile.
Then I took some heavy gesso black and colored over the black parts. The heavily damaged nose area demanded 3 layers of gesso so that the paint layer would look even.
When the paint and the gesso were all dry, I touched up some painted areas with the soft gloss gel and sprinkled some nail glitter with large particles over those areas. I also did for the flowers and the leaves for a more complex and festive look.
Finally, I took a hot melt glue gun and some black handmade paper flowers, and attached them to the mask to enrich its floral decoration.